Disclosure: This post contains affiliate links. As an Amazon Associate, we earn from qualifying purchases.
You’ll get a durable, even finish by choosing the right brush-friendly stain and prepping your deck thoroughly. Decide oil- or water-based based on wood, climate, and how long you want it to last. Clean and dry the surface, repair any damage, and remove mold. Test thickness on a scrap, then brush in long, even strokes, back-rolling to smooth puddles. Work in shade to avoid lap marks, and finish with a neat edge—more tips await if you keep going.
Choose the Right Brush-Friendly Deck Stain: Oil vs. Water-Based Options
When choosing a brush-friendly deck stain, start by weighing oil-based versus water-based options. You’ll choose based on longevity, smell, cleanup, and flexibility with your wood.
Oil-based stains deepen color and resist moisture, but take longer to dry and require solvents for cleanup. Water-based stains dry faster, emit less odor, and clean up with soap and water, yet sometimes fade quicker.
For brush stroke techniques, oil-based products can level out with longer open times, while water-based blends often require more attentive brushing to avoid streaks.
Consider stain absorption rates: porous woods drink in oil-based formulas slowly, whereas water-based stains may appear uneven until absorbed.
Match your deck’s wood type and climate to maximize coverage and oversight.
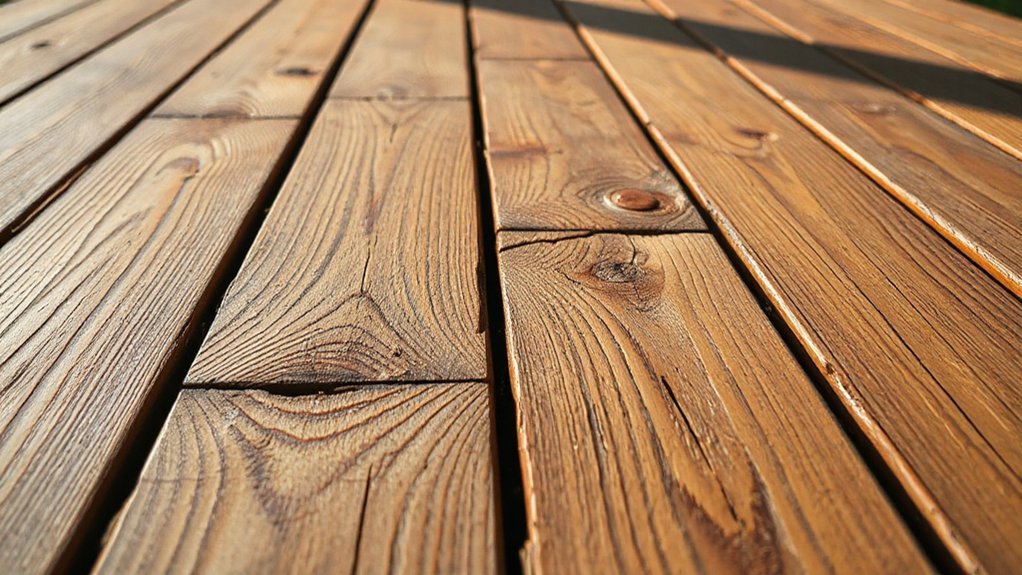
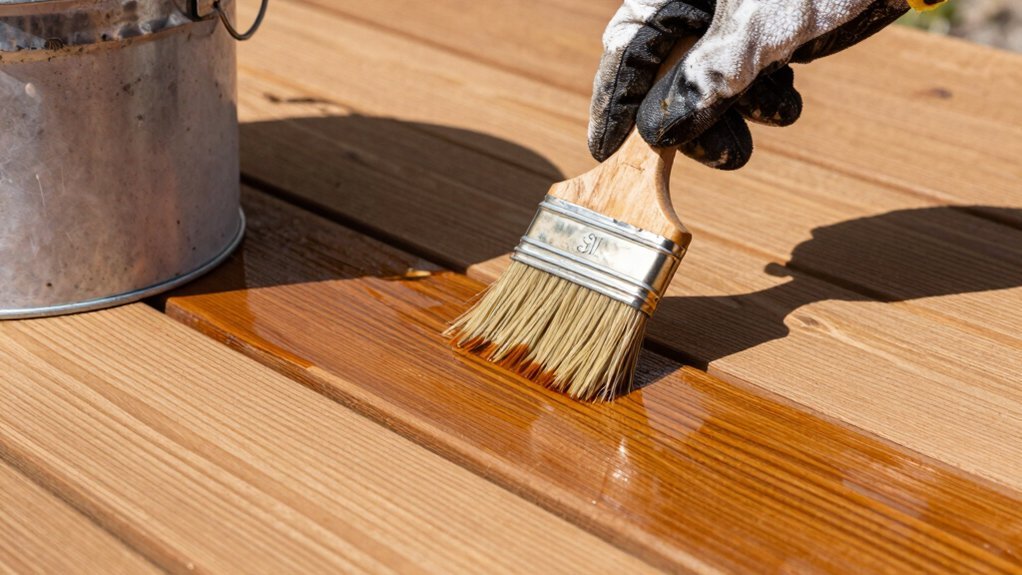
Prep the Deck for Brush Staining: Cleaning, Repairs, and Mold Prevention
Prep the deck for brush staining by getting it clean, sound, and mildew-free before you lift a brush.
Start with a thorough cleaning: remove dirt, debris, and loose flaking finish, then rinse and let dry.
Inspect boards for loose nails, cracked boards, or rot; repair or replace as needed.
Lightly scrape stubborn spots and clean mold with a solution of water and mild detergent, or use a deck-specific cleaner for mildew, following label directions.
Power washing can help, but don’t barrel the surface—keep pressure low to avoid gouging joints.
After cleaning, sand any rough areas smooth and sweep away dust.
This is deck maintenance that prepares for even stain application techniques, reduces blotching, and prolongs finish life.
Dryness and soundness matter for reliable results.
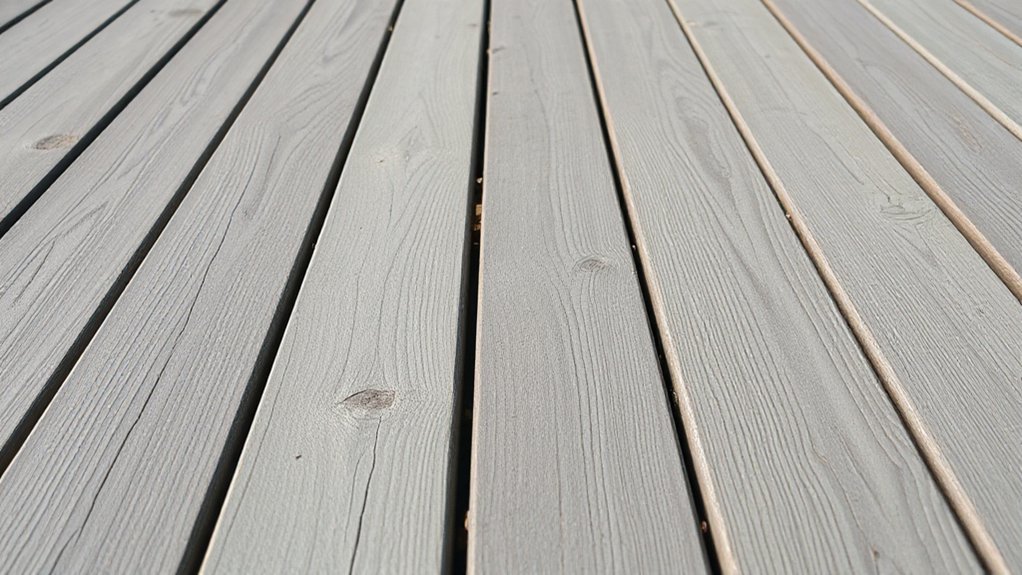
Decide Stain Type and Color: Opacity, Sheen, and Exposure Considerations
Opacity changes how your deck looks and how much hides imperfections, so pick a level that matches your style.
The right sheen also affects weather durability and maintenance; choose a finish that resists wear where foot traffic is highest.
Before you decide, consider exposure—sun, rain, and temps will alter color and longevity.
Opacity Impacts Aesthetics
Choosing the right stain type and color hinges on opacity, sheen, and exposure. Opacity affects how much of the wood’s grain shows and how dense the color appears. You’ll notice that higher opacity hides more of the natural grain, delivering a uniform color and a more contemporary look.
Lower opacity preserves the grain, giving a softer, more natural look with visible texture. Consider color saturation: saturated colors look richer on boards with sun exposure, while lighter tones can soften contrast on new, pale wood.
Sheen also plays a role: flatter finishes emphasize a natural look, while semi-gloss adds depth and highlight. Match opacity to your deck’s exposure and maintenance plan to maintain a consistent, low-maintenance appearance over time.
Sheen And Weather Durability
Weather durability is governed by the stain type and color you choose, along with how the deck sits in sun and rain. You’ll pick a stain with the right sheen for exposure: lower sheen for high-traffic, higher sheen for less wear, while still prioritizing long-term color retention.
If your deck faces harsh sun, a UV-resistant formula helps prevent fading, and color enhancement can deepen the grain without looking muddy. For shaded or protected decks, you can lean into a richer tone with moderate gloss to reveal texture.
Consider wipe tests and sample boards to verify tone under moisture. Use consistent brush techniques, overlapping strokes, and maintain a wet edge to avoid lap marks. This combination boosts durability while preserving natural wood detail.
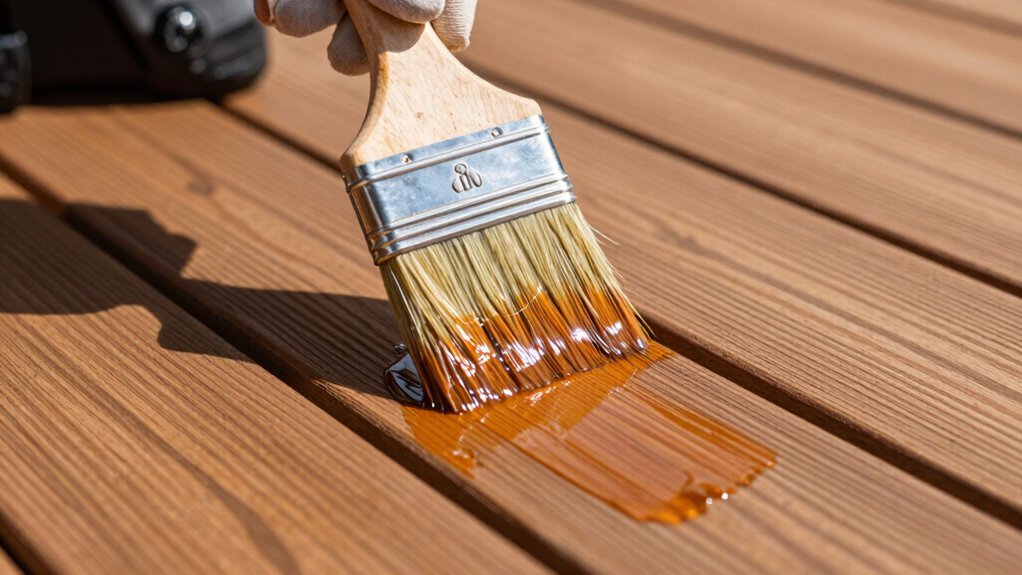
Mix and Thicken Stain for Brush Use: Testing Thickness and Thinning Limits
When you mix stain for brushing, you test thickness by grabbing a small batch and brushing a 6-8 inch line on scrap or a hidden deck area.
Aim for a brush-ready consistency that coats but doesn’t sag, noting how long it sits before thickening. If it thickens too quickly or clumps, adjust with small amounts of thinner and re-test until you hit a steady, easy-to-brush flow.
Testing Thickness Limits
To test thickness limits, mix a small batch of stain and gradually thicken it with a compatible additive until you reach the desired brush-stroke consistency. You’ll compare several thickness levels by applying test coats on a scrap board or mock-up deck sample.
Observe how the finish lays down, how it edges along boards, and how much you notice color blending at the edges. Record flow, set time, and any sag or drip.
If the stain becomes too thick, thin slightly with the recommended reducer and retest. If you’re achieving even coverage without pulling, move to the next step.
Monitor stain absorption as you adjust, ensuring even penetration across grain and pores for uniform color. Stop once your brush strokes stay consistent.
Brush-Ready Consistency
Brush-ready consistency means you test and adjust stain thickness until it brushes on smoothly without leaving heavy strokes or edge drag. You start by thinning or thickening in small increments, then test on a scrap board or inconspicuous area. Aim for a coating that flows off the brush in a controlled stream, with minimal pickup on the bristles. Record your target viscosity so you can reproduce it.
Use staining tools that suit the stain type and deck material, as tool design affects application and finish. Check brush consistency across sections; temperature and humidity can shift thickness. If you see globs, back off the thinning slightly and mix thoroughly.
You want uniform coverage, even edges, and clean, consistent results.
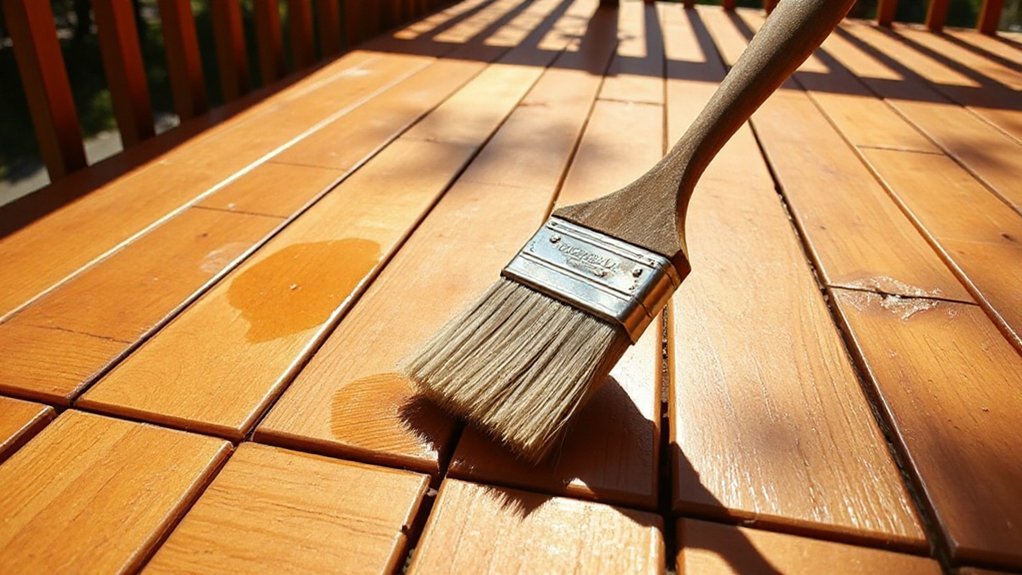
The Step-By-Step Brush Staining Technique: Even Coats, Working in Shade
Although you’ll work in shade, the key is applying even coats with a steady hand. Begin with color selection and surface preparation to set expectations. Mix the stain thoroughly, then test on a small area to confirm shade and absorption.
Load your brush evenly, tipping to remove excess. Start at the far corner and work in long, uninterrupted strokes, maintaining a consistent direction for each plank. Apply a thin initial coat, brushing across the grain, then back-roll along the same line to even out any puddles.
Allow the first coat to set briefly before applying a second, if needed, for uniform depth. Maintain steady pace, avoid overworking, and keep a wet edge to prevent lap marks. Finish with a final pass to smooth ridges and reveal consistent color.
Common Brush-Staining Mistakes and How to Avoid Them
Even with a solid technique, common brush-staining mistakes can undermine your results. First, avoid heavy brush strokes that leave visible lines; use long, even passes and maintain a consistent pace to blend edges.
Next, don’t rush; applying too much stain causes stain drips and pooling, which you’ll regret later. Wipe excess promptly; a damp rag helps without re-wetting too much.
Keep your deck evenly protected by working in manageable sections and never re-coat immediately on damp wood. Seal corners and tight gaps with a steady hand, not a flick of the wrist.
Don’t overlook preparation: clean, dry boards, and test stain on a small area to confirm color and absorption. Finally, refrain from applying in direct sun or heat; temperature shift amplifies uneven absorption.
Frequently Asked Questions
How Long Before Foot Traffic After Brushing Stain?
You should wait at least 24 to 48 hours before foot traffic after brushing stain. Keep brush maintenance in mind, and check stain drying time on the can for your specific product to avoid smudging.
Can I Stain Over Old Paint or Varnish?
Yes, you can stain over old paint or varnish, but first do paint removal and surface preparation. If the coating’s peeling, remove it; otherwise sand lightly, clean, and prime for best adhesion and durable color.
Is a Vented Mask Necessary for Brushing Stains?
Yes, you should wear a vented mask as part of protective gear when brushing stains. Make certain proper ventilation requirements are met: work outdoors or with fans, avoid fumes, and follow label directions for safe, clean breathing.
How to Fix Uneven Brush Marks Quickly?
To fix uneven brush marks quickly, you’ll blend with even strokes and rework problem areas. Use controlled brush stroke techniques and dampen with thinner stain if needed. Focus on consistent coverage, then apply stain absorption tips for uniform color.
Does Stain Color Fade With Sun Exposure Quickly?
Yes, color fades with sun exposure, but you can slow it. Use fading prevention strategies and UV protection through high-quality stain, proper surface prep, two coats, and regular maintenance to keep the color longer.
Conclusion
If you want a deck that looks like it grew from the grain, grab the right brush-friendly stain and stick to the plan. Clean, repair, and prep like a pro, then choose opacity and sheen for your climate. Thicken a touch for brush work, test first, and work in smooth, shaded strokes. Don’t rush the second coat, and wipe away drips before they set. With steady hands, your deck will age gracefully—seasoned, not stained.