Disclosure: This post contains affiliate links. As an Amazon Associate, we earn from qualifying purchases.
Yes, you can use decking paint on a fence, but only with exterior-grade, UV- and moisture-resistant deck paint. Start with thorough cleaning, degreasing, light sanding, and repair any damaged boards. Use a compatible primer, then apply two coats for lasting protection. Choose a matte or satin finish to reduce glare and help blend in. Apply in dry, mild weather, and follow the manufacturer’s dry times. If you keep going, you’ll pick up practical how-to steps and tips.
Can Decking Paint Be Used on a Fence? Yes, But With Conditions
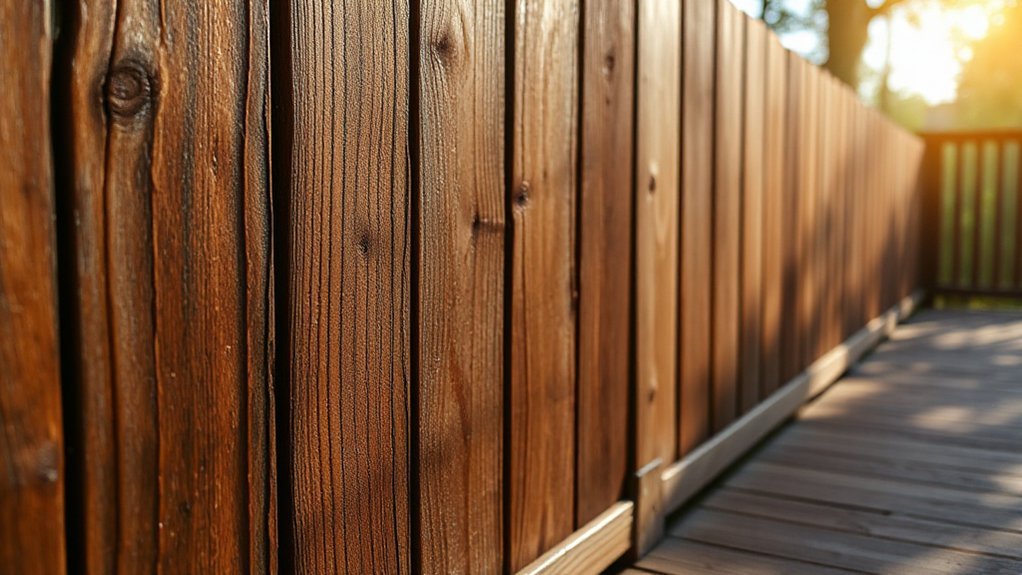
Yes, you can use decking paint on a fence, but with conditions. Start by choosing a high-quality deck paint designed for exterior wood and resistant to UV, moisture, and temperature swings.
Prepare the surface: clean, degrease, and lightly sand to reveal wood grain and improve adhesion. Remove all old coatings and repair any damaged boards.
Apply a primer if you’re switching from a different coating or color, then finish with two even coats. Maintain a steady hand to avoid lap marks and ensure full coverage of rails and posts.
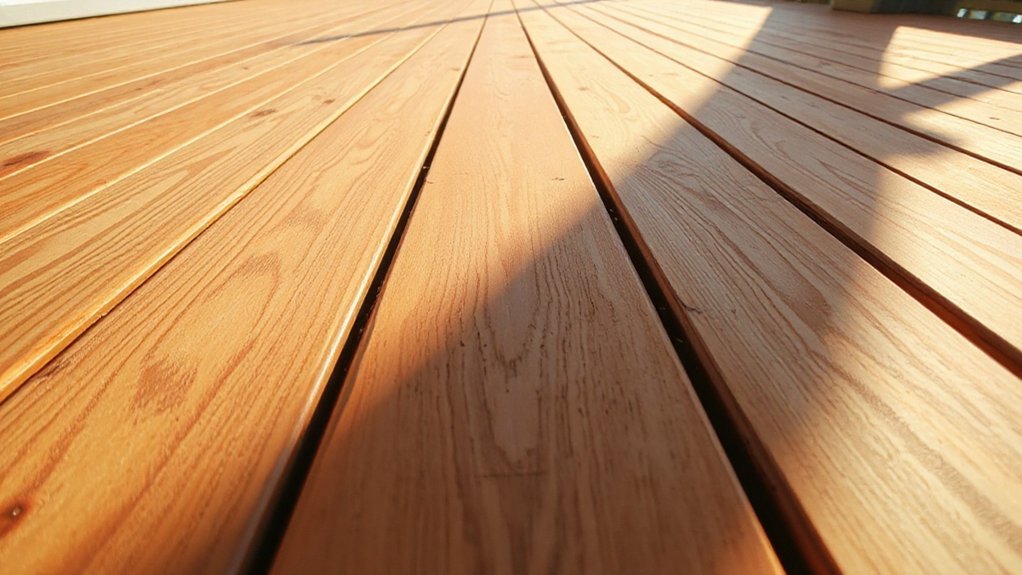
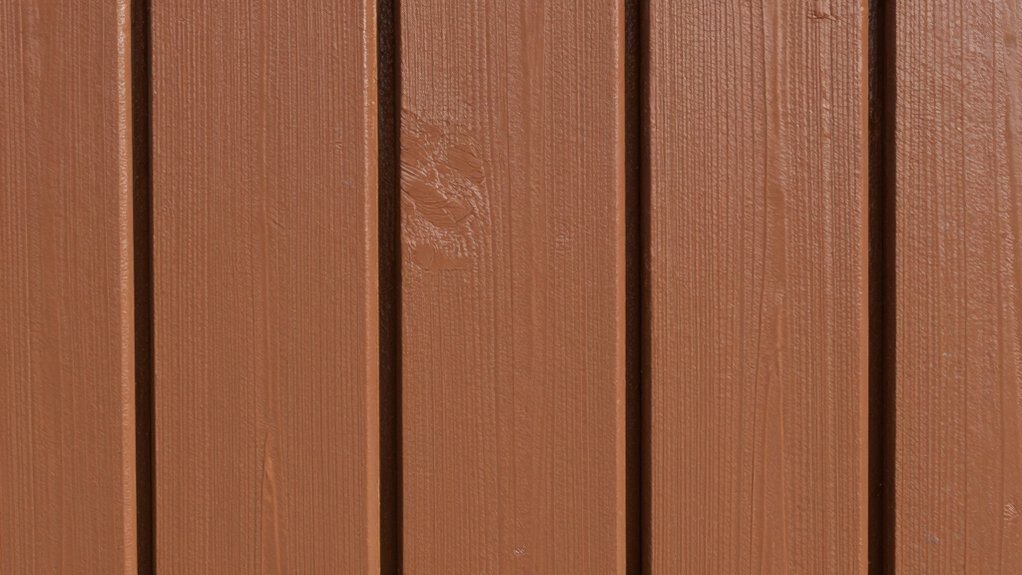
Expect better paint durability when you match the finish to outdoor exposure, not indoor standards. Note how wood grain appears through the finish, signaling even penetration and protection.
Consistency matters for long-lasting results.
When It’s Okay to Use Decking Paint on a Fence
You can use decking paint on a fence when the project fits certain conditions. If the fence is structurally sound, free of rot, and properly cleaned, paint will perform as a protective layer rather than a decorative gimmick.
Choose a matte or satin finish to avoid glare and to blend with garden furniture and surrounding décor. Use a high-quality, exterior-grade product, and apply in dry, mild weather with temperatures between 50 and 85°F.
Remove loose boards and tighten fasteners before painting. For indoors-inspired aesthetics, consider how the color interacts with interior walls seen through gaps.
Avoid heavy, high-gloss finishes that peel with seasonal movement. If repainting, prepare expectations: maintenance intervals shorten when used on fencing material.
How Fences Differ From Decking: Why the Rules Matter
Fences and decking aren’t the same project, so they don’t follow identical rules. You’ll find different textures, exposure, and moisture patterns shape how coatings perform.
Deck boards sit horizontally, collect water, and flex with temperature shifts, while fence boards run vertically and may experience more direct sunlight or wind-driven wear. Because of that, the rules for preparation, priming, and sealing diverge, especially around moisture protection and adherence.
Fence maintenance requires addressing posts, rails, and panels as a system, not a single surface. When you choose a coating, consider paint durability and its ability to withstand weather, UV exposure, and repeated washing.
Following tailored guidelines helps you extend life, reduce peeling, and keep the fence looking consistent with surrounding areas.
Prep Your Fence: Clean, Inspect, and Repair Before Painting
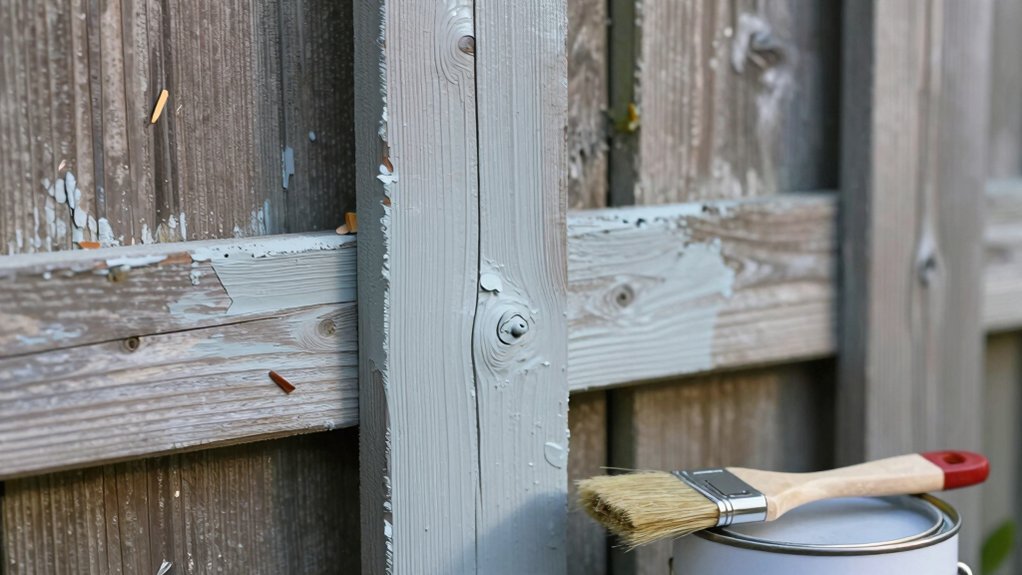
Getting your fence ready means cleaning it thoroughly, checking for damage, and fixing issues before you coat it. Start with a brisk wash to remove dirt, mold, and old finish so you can see true surface conditions.
Inspect for cracked boards, loose nails, and rot; replace or secure as needed. Sand rough spots to smooth plywood edges and create a uniform bite for stain. Remove planter debris and cobwebs that trap moisture.
If you find mold, treat with a wood-safe cleaner and rinse completely. Dry thoroughly before painting. A clean, dry surface improves adhesion and longevity of the finish.
Consider a basic wood treatment or sealant after repairs to protect against moisture, then step back to apply your Fence stain evenly.
Choose the Right Primer and Adhesion Boosters for Wood
Start with a primer-first approach to guarantee the wood grips finish coats and lasts longer. Look for primers labeled for wood, plus adhesion boosters that work with your paint and climate.
Check that the wood surface is clean and dry, then pair a compatible primer with boosters for a durable, smooth coat.
Primer-First Adhesion Boosters
Choosing the right primer and adhesion boosters is essential for a durable deck or fence finish. Start by selecting a primer formulated for wood and compatible with your topcoat.
Primer-first adhesion boosters improve film formation, so you get better adhesion across uneven surfaces and repairs. Pick a product designed for exterior wood and for the type of paint you’ll use, whether acrylic or oil-based.
Apply the booster as directed, usually before the primer or mixed with it, to enhance tack and grip. Expect to see improved wood grain definition without sacrificing coverage.
Use boosters that resist moisture and temperature swings to boost paint durability. Avoid over-thinning; follow coverage rates for a clean, clear finish that lasts.
Wood Surface Preparation
To prep wood effectively, choose a compatible primer and adhesion booster that match your topcoat and outdoor conditions, then apply them per label directions.
You’ll inspect the surface, removing peeling paint, dirt, and mildew before priming.
If you’re sealing knots, use a knot-stain blocker to prevent bleed-through.
For rough surfaces, lightly sand to create a smooth, open grain that helps adhesion, then wipe clean.
Select a primer designed for exterior wood and your planned paint color, ensuring it binds well to both the substrate and the deck or fence finish.
Apply one even coat, allow proper dry time, and recoat if needed.
Consider wood grain texture when choosing tools; a roller for flat areas and a brush for detailed edges.
This step improves film integrity and appearance.
Durable Coat Compatibility
Selecting the right primer and adhesion boosters is essential for a durable coat on wood. You’ll boost film strength by choosing a trim-compatible primer that grips bare, dusty, or weathered surfaces.
For decking paint on fences, opt for a bonding primer if you see peeling or glossy patches, then apply a compatible topcoat. Use adhesion boosters sparingly—a small amount can improve adhesion on hard-to-stick areas without creating static film.
Test a hidden area first to confirm compatibility with garden furniture coatings and wall treatments in nearby projects. If you’re working on a mixed substrate, apply a万能 primer that tolerates both exterior wood and occasional masonry.
Finally, follow manufacturer directions for dry times and recoat windows to avoid blistering.
How to Apply Decking Paint on a Fence for Lasting Coverage
Start with thorough surface prep: clean, dry, and remove loose paint so your finish can grip evenly.
Then apply proper fence priming to seal fibers before you tackle the coating, ensuring long-lasting adhesion.
Finally, aim for an even application by working in manageable sections and keeping a steady pace to avoid lap marks.
Surface Preparation Steps
Next, inspect the fence for any peeling paint, cracks, or loose boards, and collect your tools.
Start by cleaning the surface with a stiff brush to remove dirt, dust, and mildew. Rinse and allow it to dry completely before proceeding.
Repair or replace damaged boards, fill cracks with a compatible filler, and sand rough edges smooth.
Remove loose paint with a scraper, then wipe down to remove dust.
Choose a decking paint that matches the existing color family, or plan color matching if you’re revitalizing the look.
Protect nearby plants and surfaces with drop cloths.
Check weather considerations: perform prep on dry days with temperatures in the recommended range, avoiding high humidity.
Finally, lay out materials for a seamless, even finish.
Proper Fence Priming Techniques
To guarantee lasting coverage, apply a dedicated fence primer before painting. Start by selecting a primer labeled for exterior wood and compatible with your decking paint.
Clean the surface thoroughly; remove dust, mildew, and loose fibers to assure good adhesion.
Use a stain-blocking or sealer primer if you’re covering previous colors or tannin bleed.
Apply with a roller or brush in smooth, even strokes, following the wood grain for uniform penetration.
Allow primer to dry fully according to the manufacturer’s guidance before sanding lightly with fine grit to smooth rough spots.
Inspect for missed areas and touch up as needed.
When you begin painting, note how the primer affects paint texture and how the wood grain shows through for a controlled, durable finish.
Even Coating Application Tips
A smooth, even coat starts with the right technique. Start by inspecting for rough spots and sand them lightly to smooth the surface.
Use a high-quality roller or brush suited for exterior wood, and work in long, overlapping strokes to avoid lap marks. Apply a thin, even layer; avoid heavy builds that drip or peel.
Maintain a consistent pace and keep a wet edge to prevent streaks. If you’re using deck stain on a fence, alternate directions to ensure uniform absorption and color.
Allow the first coat to dry fully before applying a second, checking for thin spots. Finish with a light touch to seal the wood, then consider a topcoat for extra protection and durable wood sealing.
Protecting Color and UV Resistance on Exterior Fences
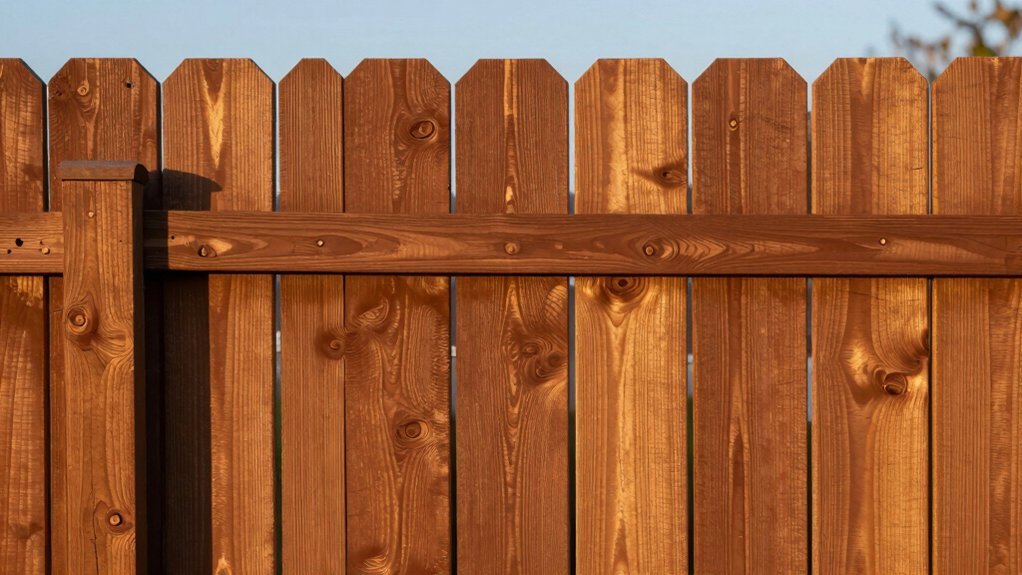
What keeps exterior fences looking fresh longer? You focus on color and UV protection from the outset. Choose a deck paint or stain that includes UV stabilizers and a pigmented tint for better color retention.
Apply a primer if the surface is raw wood, then use a long-wearing top coat formulated for exterior use. For color matching, pick a shade close to the surroundings to minimize contrast and fade visibility.
Weatherproofing matters, so ensure the product resists moisture, mildew, and temperature swings. Recoat on a clean, dry surface as needed, typically every 2–4 years.
Store extra cans for touch-ups, label colors, and test a small area first to confirm uniform fading is avoided over time.
Troubleshooting Common Fence Painting Issues (Peel, Crack, Fading)
Peeling, cracking, and fading are common fence painting issues, but you can fix them with a straightforward, step-by-step approach.
First, identify the problem’s cause: moisture, sun exposure, or poor surface prep.
Next, prep the surface: scrape loose paint, wash away dirt, and let it dry completely.
For peeling, remove all loose layers and sand edges smooth.
For cracking, fill cracks with a suitable wood filler and sand flush.
For fading, clean and brighten the surface to reveal bare wood or old paint.
Prime bare or repaired areas with a bonding primer.
Apply a high-durability finish suitable for your fence material, ensuring even coats.
Curb future problems by maintaining consistent primer and paint durability, and recoat as needed.
This keeps your fence protected and looking consistent.
Alternatives If Decking Paint Isn’t Ideal for Your Fence
If decking paint doesn’t suit your fence, there are practical alternatives that still protect and improve its appearance. Consider a semi-transparent stain or a solid exterior paint designed for wood; these options let grain show while providing UV resistance and moisture protection.
Prepare similarly to painting: clean, repair, sand lightly, and prime if required. Apply with a brush in long, even strokes, working from top to bottom, and allow adequate drying time between coats.
If you prefer a low-maintenance finish, use a penetrating preservative or deck sealer, periodic reapplication keeping the tone fresh.
For styling continuity, coordinate colors with garden furniture and, if indoors, choose finishes that won’t clash with interior walls.
Regular inspections guard against moisture damage and peeling.
Frequently Asked Questions
Is Decking Paint Compatible With All Fence Wood Types?
Yes, decking paint isn’t universally compatible; you must prep and test first. For fence staining and paint durability, choose a product labeled for wood variety, apply evenly, and watch for peeling on softer or previously treated woods.
Will Decking Paint Prevent Rot and Insect Damage on Fences?
Decking paint won’t fully prevent rot or insect damage on fences; it boosts weather resistance. For better results, inspect fence wood absorption, treat any cracks, and recoat periodically to maintain decking paint durability and protection.
Can I Use Deck Stain Instead of Deck Paint on a Fence?
Yes, you can use deck stain on a fence. It’s breathable and highlights wood grain. For fence maintenance, apply evenly in thin coats. It improves Paint durability and protects against weather, though not as opaque as paint.
How Long Does Decking Paint Last on Exterior Fences?
Decking paint on exterior fences lasts about 5–10 years with proper care. For fence maintenance, you’ll extend paint durability by cleaning, sealing, and re-coating as needed. Inspect for peeling and wear, and address moisture promptly.
Do Color Choices Affect Adhesion on Fences?
Color selection can affect adhesion on fences, so pick a high-quality, exterior-grade product and test a small area first; color choice also influences fence aesthetics, so guarantee contrast or harmony with surroundings for a cohesive look.
Conclusion
You can use decking paint on a fence, but follow the rules and don’t rush. Prep well, pick a compatible primer, and apply in the right conditions, or you’ll risk a flaky finish. If the look you want isn’t quite right for a fence, consider a dedicated exterior stain or paint designed for wood fences. When in doubt, test on a small area first. With careful steps, your fence can finish smoothly without turning into a maintenance headache.