Disclosure: This post contains affiliate links. As an Amazon Associate, we earn from qualifying purchases.
The best deck coating depends on your substrate, climate, and maintenance goals. For durability, consider polyurethane porch coatings, high‑solids acrylics, penetrating oils, or waterborne polyurethanes, matched to exposure and substrate prep. Sealers block moisture with minimal grain change; stains add color with moderate UV protection; paints provide strong protection but mask grain. Prioritize thorough cleaning, repair, light sanding, and proper recoat intervals. With the right prep and product choice, you’ll maximize moisture control, UV resistance, and wear life—details ahead.
Best Deck Coatings: A Simple Decision Framework
Choosing the right deck coating starts with a clear decision framework: identify the deck’s material, exposure, and maintenance needs, then match them to coating properties like UV resistance, water repellency, and durability.
You assess substrate compatibility first, ensuring adhesion isn’t compromised by wood species, concrete, or composite blends.
Next, evaluate environmental exposure—sunshine, rain, and temperature swings—to determine required film hardness and flexibility.
Maintenance expectations guide recoat frequency and cleaning requirements, influencing finish type.
For color options, choose pigments that resist fading and require minimal upkeep.
Eco-friendly formulations matter when indoor air quality or outdoor surroundings are considerations; select low-VOC, durable systems with proven weather resistance.
Conclude with a practical decision matrix that aligns material reality with performance promises, yielding a durable, aesthetically stable deck coating.
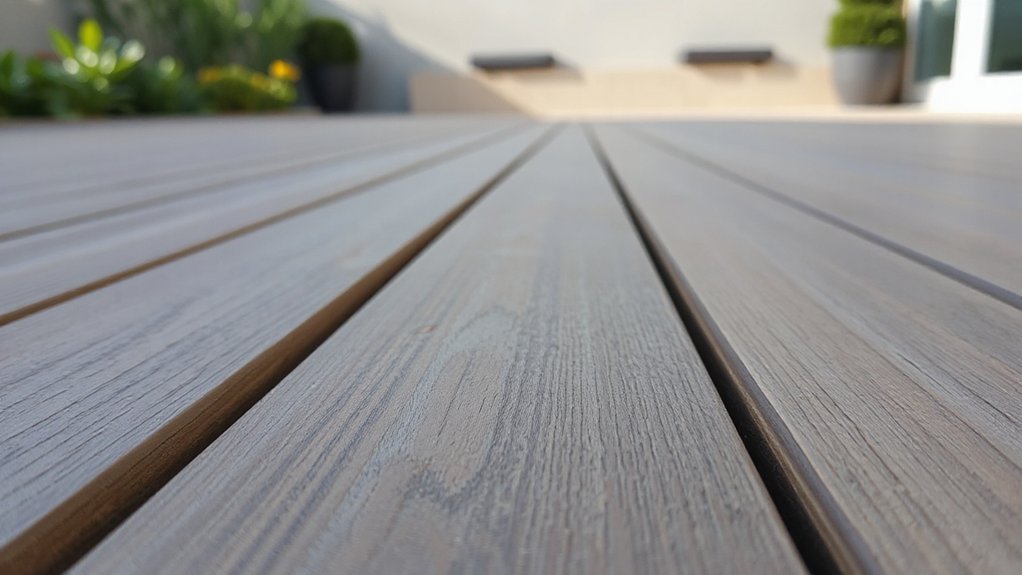
How Coatings Protect Your Deck: Moisture, UV, and Wear
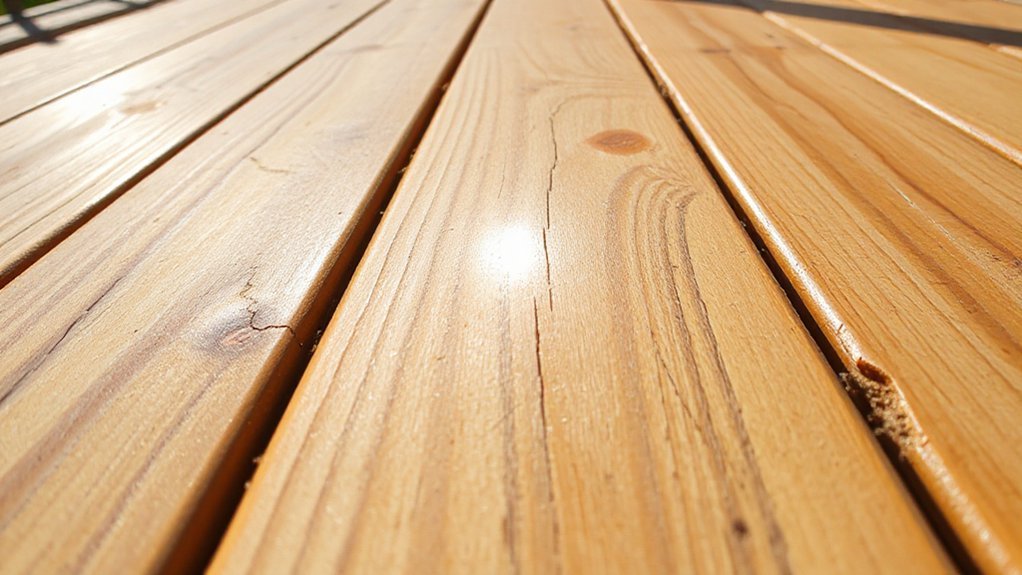
Coatings shield a deck by forming a protective barrier that manages moisture, blocks UV damage, and resists wear from foot traffic and weather. You’ll see moisture control by reducing capillary uptake, minimizing swelling, and slowing wood rot indicators.
UV protection preserves color integrity, delaying color fading and surface checking caused by sun exposure. Wear resistance comes from a crosslinked film that distributes impact stress and reduces abrasion on the wood grain, maintaining even texture and fewer surface fibers lifting.
Material selection matters: polymers with low permeability, appropriate pigment load, and a durable topcoat balance flexibility and hardness. Maintenance timing matters too—recoat before failure signs appear to extend service life.
In practice, expect improved dimensional stability, consistent appearance, and predictable long‑term performance of your wood grain deck.
Key Climate Scenarios That Matter for Decks
Key climate scenarios shape deck performance by stressing moisture, temperature, and UV exposure in distinct ways. You evaluate how rain, humidity swings, and standing water alter substrate moisture content and coating durability, noting that high humidity accelerates swelling and delamination risk.
Temperature cycles induce expansion and contraction, stressing joints and coatings differently across seasons. So you prioritize materials with compatible thermal expansion coefficients to maintain adhesion.
UV exposure degrades polymers and colors, reducing clarity and surface strength unless formulations include stabilized binders.
Regional patterns—hot, arid days versus wet winters—define required weather resistance and long-term service life.
Develop a climate adaptability perspective that aligns product choice with anticipated shifts and moisture loads. This approach minimizes maintenance burdens while maximizing deck performance and safety.
Sealers, Stains, and Paint: What Each Coats and When to Use Them
Sealers, stains, and paints each serve a distinct purpose on decks: sealers create a moisture barrier at the substrate surface, stains add color and penetrate to enhance grain visibility while offering moderate protection, and paints form a film that blocks moisture and UV exposure.
You choose based on desired maintenance interval, appearance, and performance under climate conditions. Sealers favor minimal alteration of wood grain and faster reapplication, with limited color options.
Stains provide translucency to preserve natural wood texture while adding color options and better UV resistance than clear sealers.
Paints offer the strongest protection and uniform color, but obscure wood grain and require surface prep for adhesion.
Assess wood species, anticipated wear, and maintenance cadence to balance durability with wood grain visibility and chosen color options.
Top 4 Deck Coatings for Most Homes
You’ll compare the top four deck coatings by balance of best overall performance, long-term longevity, and manageable maintenance.
We’ll weigh application practicality, cure times, and how each coating stands up to weather, foot traffic, and UV exposure.
This discussion sets a framework for choosing coatings that optimize durability, care routines, and reuse intervals for most homes.
Best Overall Coatings
What’re the best overall deck coatings for most homes? For broad applicability, focus on products that combine durability, ease of application, and compatibility with common deck substrates.
A hybrid-alkyd acrylic provides strong hardness, good adhesion, and balanced elongation to resist cracking. A high-solids acrylic offers excellent UV resistance and color stability with fewer coats, reducing maintenance time.
A two-component polyurethane delivers superior abrasion resistance for high-traffic areas, though requires careful mixing and ventilation during application. For budget-conscious projects, a quality waterborne warranty-backed coating delivers reliable performance and easier cleanup.
When selecting, consider wood grain visibility and color options to maintain aesthetic value. Ensure surface preparation is thorough, follow manufacturer guidelines, and verify compatibility with existing finishes to optimize longevity.
Longevity And Maintenance
For long-term durability, four coatings stand out for most decks due to their balance of protection, maintenance needs, and substrate compatibility. You’ll evaluate finish systems by yearly upkeep, exteriors exposure, and substrate condition.
Polyurethane porch coatings deliver high scratch resistance and minimal color fading on cedar and treated lumber, but require surface prep and UV-blocking topcoats to prevent gloss loss.
Penetrating oil finishes preserve wood grain and offer easier maintenance, yet they demand more frequent reapplication in sun-drenched areas to avoid uneven color.
Acrylic elastomeric sealers supply weather resistance with flexible film formation, reducing splitting risk but can trap moisture if over-applied.
Semitransparent stains balance pigment and wood grain visibility, enabling longer intervals between recoat cycles.
Choose based on color fading tolerance, cleaning routine, and substrate maturation.
Application Considerations
Application considerations matter most when selecting among the top four deck coatings, as each system has distinct installation steps, curing times, and substrate prep requirements. You’ll assess surface condition, moisture content, and type of deck wood before choosing.
Drying windows, recoat intervals, and ventilation needs dictate workflow and timing. Color selection influences appearance, UV resistance, and shading, so plan sheets or samples that match outdoor lighting.
Prepare substrates with cleaning, wetting, and, if needed, etching or sanding to achieve a uniform profile. Environmental impact matters beyond performance; select low-VOC formulations and consider maintenance frequency to minimize disruptions and disposal.
Compatibility with existing flashing, fasteners, and drainage paths avoids failures. Finally, verify warranty terms cover substructure, coatings, and anticipated traffic loads for long-term performance.
DIY vs Pro Finish: Which Path Is Right for You
Deciding between a DIY finish and hiring a pro comes down to project scope, skill level, and the desired durability. You should assess surface condition, access, and time constraints before choosing.
DIY generally suits smaller decks, straightforward coats, and budget limits, provided you follow manufacturer instructions and safety guidelines.
Pro finishes excel on complex layouts, multiple elevations, or when minimum cure times are critical for use. Consider equipment needs, ventilation, and warranty coverage; pros often offer longer-lasting seals and uniform color application.
For color options, a pro can achieve consistent tones across boards and hidden fasteners, while DIY may present subtle variances.
In either path, confirm compatibility with your wood species and existing coatings, and document maintenance intervals to maintain the wood grain’s appearance and protection.
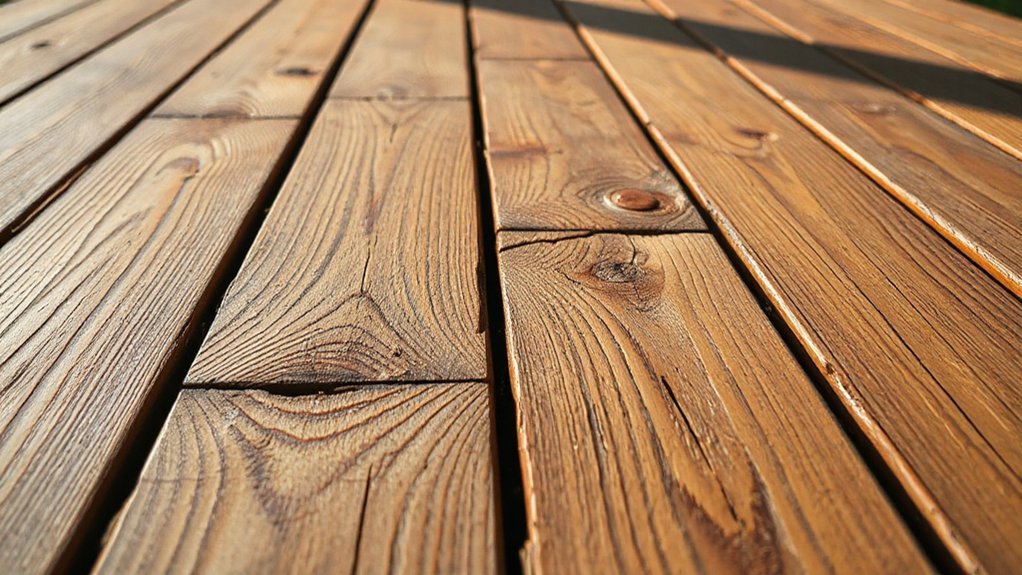
Prep Like a Pro: Cleaning, Repairs, and Surface Prep

Ever wonder how to set a deck up for a flawless finish? Begin with a thorough cleaning to remove dirt, mold, and efflorescence, using a scrub brush and a deck-safe cleaner. Rinse completely and allow surface to dry; moisture beneath coatings causes failure.
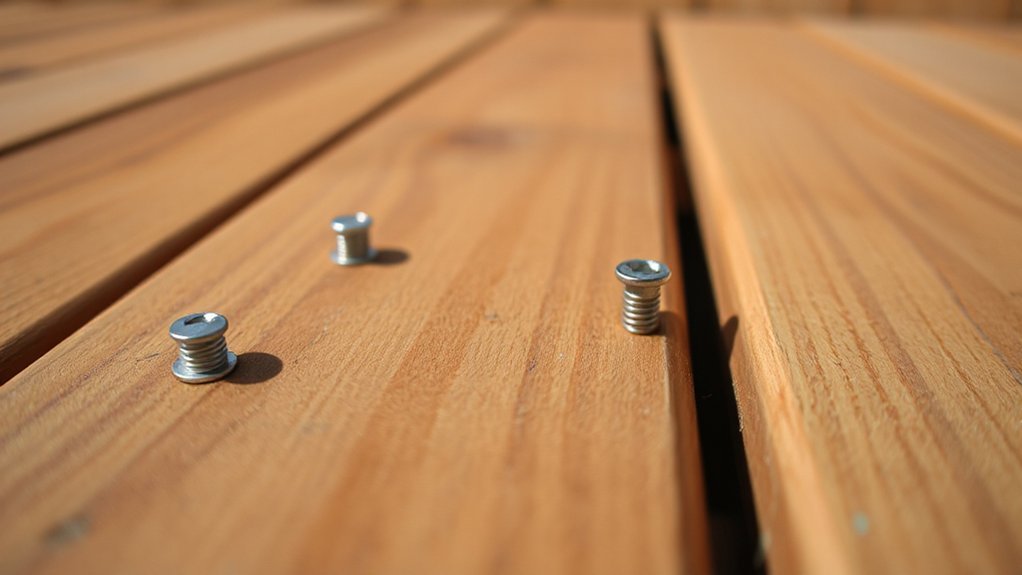
Inspect boards for splits, loose fasteners, and soft spots; mark and replace or repair as needed. Sand rough areas lightly to create uniform wood grain and to promote adhesion, avoiding gouges that trap between-coat debris. Degrease oily residues where applicable, ensuring a clean substrate for bonding.
Mask nearby surfaces to prevent overspray. Check for adequate drainage and plan for proper ventilation during repairs. Consider wood grain orientation and confirm chemical resistance expectations align with your chosen coating system.
Application Tips by Coating Type
You’ll tailor surface prep, drying, and application techniques to the coating type you choose, starting with surface prep essentials that match the substrate and product specs.
Next, apply drying time tips combined with careful environmental controls to prevent defects and guarantee cure integrity.
Finally, follow precise application techniques by coating type to optimize adhesion, finish, and longevity.
Surface Prep Essentials
Surface prep is the foundation of a durable coating, so follow a structured sequence: clean thoroughly to remove oil, dust, and contaminants; abrade or profile the surface to the recommended roughness; and guarantee the area is dry and dust-free before application.
You’ll prepare each deck section with uniformity, ensuring consistency across boards and gaps. For wood grain, maintain the original texture to avoid sealing high spots that trap moisture. Color enhancement requires that the surface be free of residues that could alter hue or adhesion; recheck after cleaning and prior to coating.
Use moisture meters to confirm target moisture content, then re-clean as needed. Document surface condition, temperature, and humidity to optimize substrate compatibility and finish performance.
Drying Time Tips
After completing surface prep, drying time becomes a primary determinant of finish quality. You’ll plan around substrate porosity, ambient conditions, and coating chemistry to minimize walk-away time without sacrificing cure.
If you’re applying oil- or water-based products, observe manufacturer-recommended recoat windows and avoid high humidity or direct sun that accelerates skin formation too quickly. For rapid-dry formulas, maintain consistent airflow and moderate temperatures to prevent edge pull or blush.
Track surface tack as a practical cue: when it’s non-tacky, you’re closer to final cure rather than mere surface dry. Consider color options and texture enhancements—some finishes alter cure rate subtly.
Schedule coats to prevent solvent entrapment, and verify that each layer reaches full cure before exposure to foot traffic or moisture.
Application Techniques by Type
Coating type dictates the technique, so tailor your approach to the chemistry and viscosity of each product.
For film-forming sealers, apply in thin, even coats using a high-quality brush or short-nap roller, maintaining a consistent stroke direction to minimize lap lines.
When using penetrating stains, work into the wood grain with narrow, controlled passes, and back-brush to ensure uniform color absorption without pooling.
For elastomeric coatings, use a roller to establish a uniform film thickness, then back-roll to smooth ridges.
If you’re applying polyurethane or varnish over bare wood, use light, overlapping strokes and avoid over-brushing.
Watch for color fading in exposed areas and recoat promptly.
Always test on a scrap area to confirm finish and compatibility with wood grain.
Cleaning and Maintaining Your Deck: Longevity Moves
Regular cleaning removes dirt, mold, and algae that accelerate wood decay or degrade coatings, so do it on a schedule and with the right tools.
You should inspect boards for lifted fibers or split ends, then plan targeted maintenance windows.
Use a stiff-bristle broom or low-pressure washer (under 1200 psi) to remove debris without gouging the surface.
Choose a cleaner appropriate for your deck material, avoiding bleach on most woods to preserve color and integrity.
Rinse thoroughly and let dry before applying any dressing or sealer.
Monitor wood grain for raised areas indicating surface wear, and re-sand only where needed to maintain uniform texture.
Address color fading promptly by resealing with a compatible product to lock in hue and extend overall longevity.
Common Deck Coating Mistakes (and How to Avoid Them)
Common deck coating mistakes often stem from choosing the wrong product, applying it under unsuitable conditions, or skipping surface prep. You’ll avoid costly errors by matching coatings to wood species, porosity, and moisture content, and by respecting manufacturer data.
Don’t apply sealers over unfinished or weathered wood; prep with cleaning, dry surfaces, and light sanding to open grain. Inadequate adhesion causes peeling, uneven film buildup, and rapid color fading.
Follow the recommended application temperature and humidity, avoiding sun exposure on hot planks, which can cause flash-drying and laps. Inspect for grain raised by moisture; re-sand and recoat as needed.
When applying, watch for visible wood grain patterns under the finish; inconsistent coverage reveals flaws and shortens lifespan. Proper maintenance schedules preserve color integrity, protect against UV, and prevent wood grain darkening.
Frequently Asked Questions
How Long Does a Deck Coating Actually Last in Real Life?
In real life, a deck coating lasts roughly 3–7 years, depending on climate and maintenance. You can maximize deck durability and coating longevity by proper prep, proper product selection, and scheduled re-coats every few seasons.
Can I Color-Match Coatings to My House Trim?
Yes, you can color-match coatings to your house trim with custom tinting. Color matching helps seamless aesthetics; guarantee the tinting system is compatible with your deck coating and climate, then verify UV stability and warranty considerations.
Are Coatings Safe for Kids and Pets on Treated Wood?
Yes, coatings can be safe for kids and pets on treated wood when you choose finishes labeled safe for children and pet friendly finishes, and follow manufacturer curing times, ventilation, and proper application precautions to minimize exposure risks.
Do Coatings Require Licensing or Special Equipment to Apply?
Only some coatings require licensing or special equipment; most don’t. About 60% of projects succeed with standard DIY tools. You should check product-specific application requirements and consider professional installation for complex formulations or elevated work.
Can You Repair or Touch up a Worn Coating Easily?
Yes, you can repair or touch up a worn coating easily. For deck repair, assess wear, clean thoroughly, and use compatible touch-up techniques—spot-fill cracks, recoat high-wear areas, and blend edges for a seamless finish.
Conclusion
You’ll pick the best coating by matching your climate, traffic, and maintenance pace. If you want longevity, expect to recoat every 3–5 years with a film-forming finish or every 2–3 with a penetrating stain, depending on peel resistance and UV exposure. An interesting stat: decks treated with proper annual maintenance see up to 30% fewer surface failures over five years. Stay precise in prep, follow manufacturer steps, and maintain a documented maintenance schedule.