
Disclosure: This post contains affiliate links. As an Amazon Associate, we earn from qualifying purchases.
To stain your deck effectively, start by cleaning thoroughly, brighten to lift oxidation, and dry completely. Lightly sand to open pores, then choose the right finish—oil for deeper color and longer protection, or water-based for faster drying and easier cleanup. Apply with the grain in a single, even coat, keeping a wet edge to avoid lap marks, and wipe drips promptly. Plan in calm, wind-free conditions and allow proper cure time before use—more tips await to fine-tune your approach.
Why Deck Stain Matters: What It Does for Your Wood
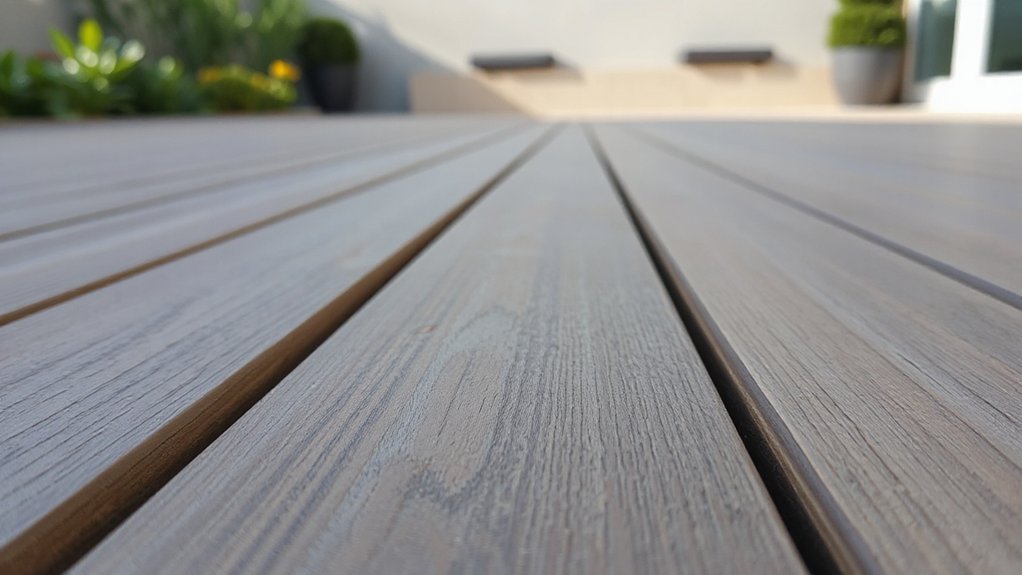
Stain protects wood from moisture, UV rays, and prevailing wear, so your deck lasts longer and looks better. You’ll shield fibers from cracking and warping, while minimizing cupping and splintering over seasons.
When you choose a stain color, you set the tone for curb appeal and consistency across boards, so your outdoor space feels cohesive. Pay attention to wood grain visibility; a quality stain enhances natural patterns rather than hiding them, giving you a richer, lasting finish.
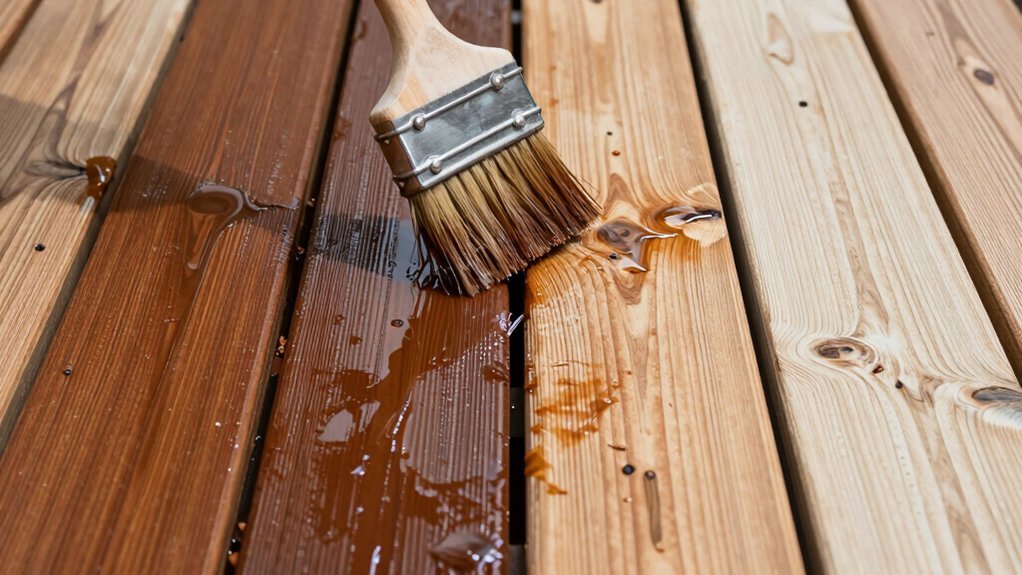
With proper penetration, you reduce surface checking and maintain easier cleaning, too. Apply with a quality brush or sprayer, and follow manufacturer guidance for recoat intervals.
Regular staining protects, preserves, and modernizes your wood, delivering durable color that resists weather and daily wear.
Oil vs. Water-Based Deck Stains: Which Should You Use?
When you’re choosing between oil and water-based deck stains, start with durability, maintenance, and how you’ll apply and clean up.
You’ll weigh oil’s longer-lasting finish and penetrating feel against water-based products’ faster dry times and easier cleanup, guided by your climate and wood type.
Start here to compare Oil Vs Water-Based Basics, account for Durability And Maintenance, and map out your Application And Cleanup plan.
Oil Vs Water-Based Basics
Oil and water-based deck stains each have pros and cons, so choosing boils down to your deck material, climate, and how long you want between recoats. When you pick, you’re weighing appearance, longevity, and application ease.
In practice, oil-based stains deepen color and grain contrast, but require solvents and longer cure times. Water-based options dry faster, resist bleeding, and clean up with soap and water, yet may raise grain on some woods.
For color selection, consider lighter tones to minimize blotching on softwoods, or richer hues for hardwoods.
Finish types matter too: UV protection, mildew resistance, and resistance to peeling determine your maintenance window.
Assess your climate, sun exposure, and DIY comfort to decide which route aligns with your project timeline and aesthetic goals.
Durability And Maintenance
Durability and maintenance hinge on choosing the right deck stain for your climate and schedule. Oil-based stains typically offer deeper color and longer life in harsh sun, while water-based options dry faster and resist peeling, making maintenance easier.
You’ll prioritize stain longevity by selecting a formula suited to exposure, then rehearse a realistic maintenance plan. For wood preservation, schedule re-coats based on wear, not calendar dates, and follow prep steps precisely to maximize adhesion.
Consider UV protection, mildew resistance, and cleanup ease when comparing products. If you live in humid or coastal areas, choose water-based for better microbial resistance; in intense sun, oil-based can extend protection between applications.
Keep records of applications and maintenance intervals to sustain color, protection, and overall deck health.
Application And Cleanup
Now that you’ve weighed oil vs. water-based stains for longevity, it’s time to nail down application and cleanup.
Start with color matching to your deck’s style; choose a shade that enhances the wood without overpowering surroundings.
For application, pick brush selection based on grain and surface: natural-bristle brushes for oil-based formulas and synthetic for water-based varieties.
Work in the direction of the grain, avoiding heavy coats that puddle or peel.
Maintain a wet edge to prevent lap marks, and keep a spray or roller handy for railings and wide boards.
Cleanup is faster with water-based stains—rinse brushes immediately and soap them well; oil-based stains require mineral spirits and proper ventilation.
Label containers, store lids tightly, and dry-cure surfaces before use.
Prep Your Deck: Clean, Brighten, and Sand for Best Results
Start by cleaning all surfaces to remove dirt and mildew, giving your deck a fresh base for stain. Then brighten the wood grains to reveal natural color and improve penetration.
Finally, sand lightly to boost absorption and guarantee even results.
Ready your tools and tackle each step for a long-lasting, even finish.
Clean Deck Surfaces
Wondering where to begin? Clean deck surfaces the right way to prep for stain. Start by removing loose debris with a broom, then sweep or blow away dirt in corners and joints.
Use a biodegradable deck cleaner or a mild soap solution to break down grime, following label directions for dwell time. Don’t rush—gentle agitation helps lift old coatings without harming the wood.
Rinse thoroughly with a garden hose, keeping water pressure moderate to avoid splintering. After drying, inspect for raised fibers; lightly sand any rough spots to reveal a smooth surface.
This step protects your deck color and reveals the wood grain for even absorption. Ready to brighten and seal, you’ll enjoy a cleaner, longer-lasting finish.
Brighten Wood Grains
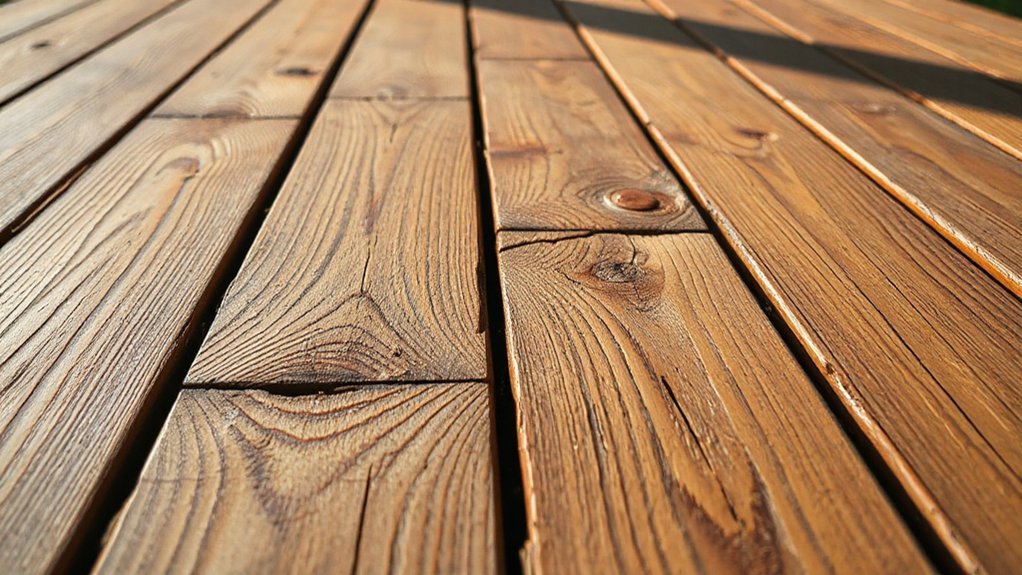
Brightening wood grains helps reveal the natural texture beneath old coatings and primes your deck for even stain absorption. You’ll want a controlled approach: use a brightening formula after cleaning to lift surface oxidation without altering wood color.
Apply evenly, following product directions, and work with the grain for consistent color enhancement. This step enhances contrast, making the wood grain more legible and ready to accept stain.
Rinse thoroughly if required, and allow complete drying before proceeding. Expect a refreshed, more uniform base that helps the final coat penetrate evenly and uniformly bond.
Focus on subtle improvement rather than dramatic change; the goal is enhanced depth and clarity, not over-saturation. Your improved deck appearance will showcase natural beauty with durable, even color enhancement.
Sand For Absorption
If you want stain to grip evenly, you must sand for absorption after cleaning and brightening. This step targets surface porosity, revealing a uniform texture that accepts finish consistently.
Begin with a light, damp wipe to remove dust, then sand with 80–120 grit, moving with the wood grain. Check for smoothness; any raised fibers should be sanded flush.
Prioritize areas with previous stain failure or heavy wear, re-sanding to reopen pores. After sanding, briskly vacuum or wipe away dust before applying stain.
The goal is balanced absorption, not a shiny surface. Seal the process by conditioning porous spots to ensure even color.
Test and Decide: Color and Finish Choices for Your Deck
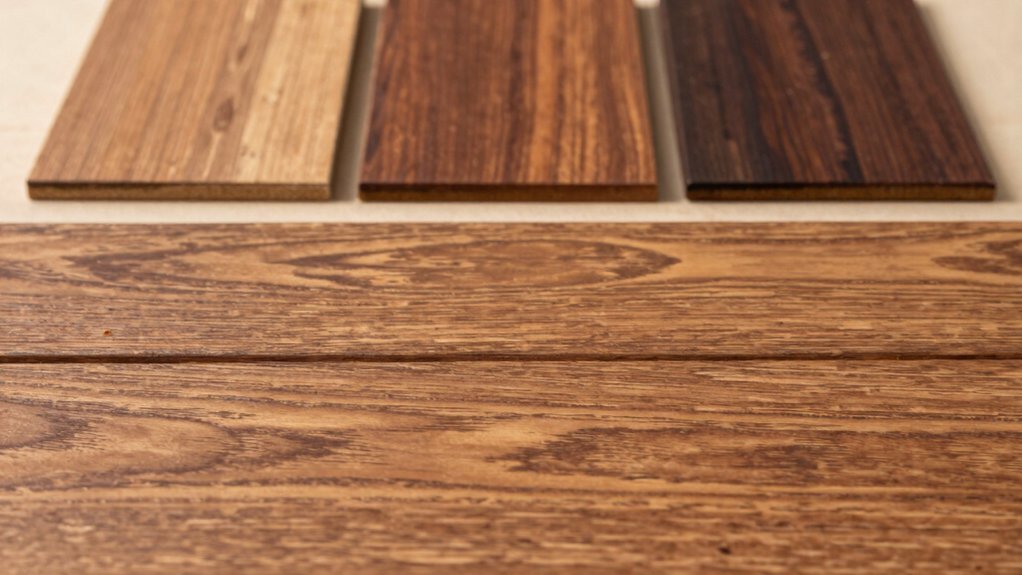
Before you pick a color or finish, test samples on your deck to see how they look in real light and weather conditions. You’ll compare color options side by side on a small, representative area, photographing at different times of day.
Look for how the stain reads with your wood tone, grain, and shadows, and note any splotches or color shifts. Consider finish types—transparent, semi-transparent, or solid—based on how much grain you want visible and how much UV protection you need.
Seek guidance on maintenance needs and fade resistance from product labels. Narrow your choice to two to three contenders, then sample those outdoors for a full week.
Decide based on appearance, durability, and practical upkeep to ensure long-lasting curb appeal.
Step-by-Step Deck Stain Application: From Prep to Finish
Now that you’ve narrowed your color and finish options, you’re ready to apply the stain step by step—from prep through the final coat.
Start with a clean, dry deck surface; scrub, rinse, and allow full drying time. Protect adjacent vegetation and plan wind-free hours for staining.
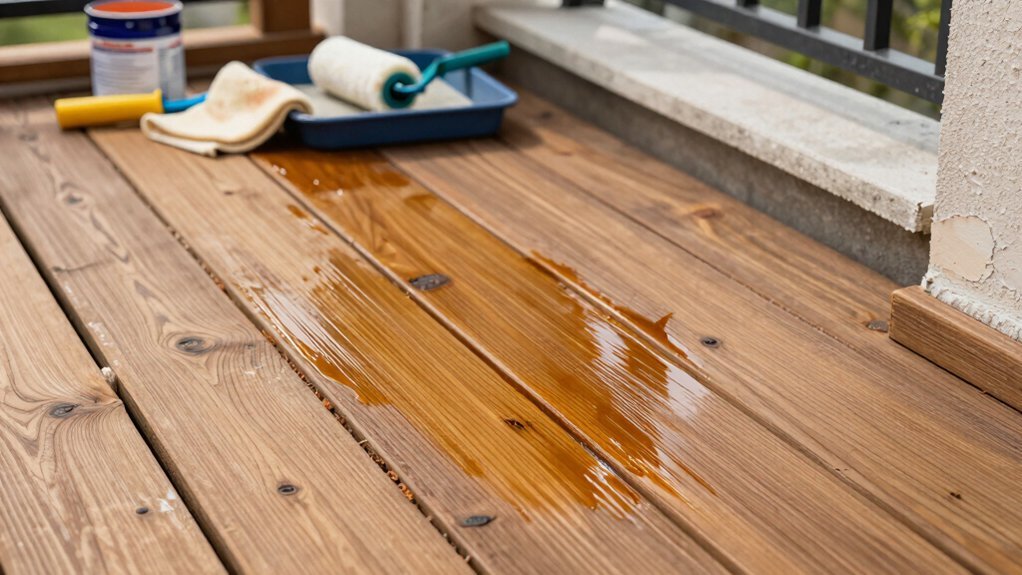
Use color selection to guide your tool choice—brush for tight boards, roller for wide surfaces, and a pad for deep grain. Apply evenly in the direction of wood grain, keeping a consistent wet edge to avoid lap marks.
Between coats, check for missed spots and touch up promptly. Maintain a steady pace, don’t rush, and respect manufacturer recoat windows.
Finally, wipe any drips and let the finish cure fully before light use. Stain application done right yields lasting color and protection.
Maintenance Guide: When to Recoat and How Long It Lasts
Regular maintenance keeps your deck looking great and extends the stain’s life. You’ll know when to recoat by inspecting color and surface feel: if color fades unevenly, water beads no longer, or the stain seems thin, it’s time.
Plan recoat every 2–4 years for cedar or softwood, and 4–7 years for hardwoods, depending on sun exposure and foot traffic.
Prepare the surface by cleaning, drying, and lightly sanding, then refresh the color with a compatible stain. Focus on color retention to guarantee even tone across boards.
During recoats, ensure proper stain penetration by applying thin, even coats and avoiding puddling in gaps.
Temperature and humidity matter; work in mild conditions.
Regular maintenance saves more deep work later and preserves long-term protection.
Troubleshooting Deck Staining: Common Issues and Fixes
Common deck staining issues crop up even with careful prep, but most are fixable when you diagnose the problem quickly and apply targeted solutions. You’ll spot uneven color, blotching, and peeling.
Start with color matching: test a small area with the same stain, ensuring the hue blends with the wood and adjacent boards. If color looks off, strip or sand gloss spots before re-staining.
Blotching often means insufficient stain penetration; clean, neutralize tannins, then apply thin coats that penetrate evenly.
For peeling, remove loose finish, clean thoroughly, and recoat with proper preparation.
Monitor stain penetration during application—work with the grain, maintain even thickness, and avoid sunlit, windy conditions.
Proper prep and timely touch-ups prevent costly rework and extend deck life.
Pro Tips for New vs. Weathered Decks: Quick Wins and Pitfalls
New decks and weathered ones demand different prep and application tactics, so start by matching your approach to the wood’s condition and age.
For new boards, focus on clean, dry surfaces and light sanding to promote even stain penetration. Choose a low- to mid-range tint and apply thin, even coats to avoid milky finishes.
Weathered wood, meanwhile, benefits from thorough cleaning, brighter oxalic acid treatment if needed, and a longer dry time before staining.
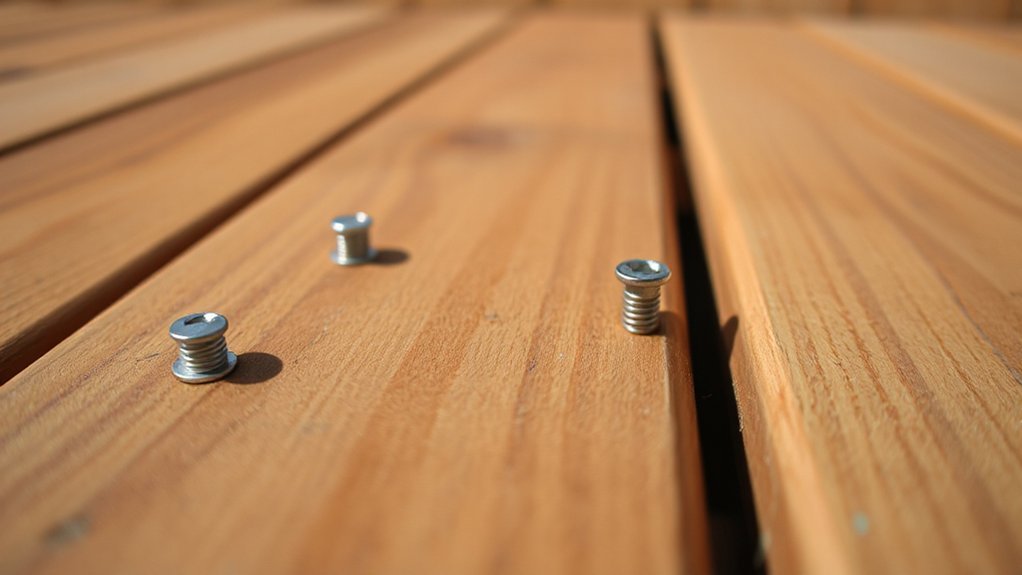
Quick wins include performing a moisture test, sealing cut ends, and using a roller for rapid coverage, followed by brushing out overlaps.
Pitfalls to watch: overworking stiff grains, skipping pre-stain conditioning, and ignoring color fading in drought-prone areas.
Prioritize even stain penetration and color consistency for lasting protection.
Frequently Asked Questions
Can Stain Color Change After First Application Dries?
Yes, your stain color can appear different after it dries. Expect color fading initially, then even out. If it seems lighter, plan a stain reapplication in a year or season, following manufacturer guidance for best results.
Does Deck Wood Species Affect Stain Choice?
Satire aside, yes: wood species matter for stain choice because wood grain and stain penetration vary. You’ll pick lighter stains for softwoods and richer tones for hardwoods, optimizing color, durability, and protection from sun exposure and moisture.
How Long Should Stain Cure Before Light Use?
You should wait after staining until the surface reaches dry-to-touch state; typically 24–48 hours for light traffic. Factor in drying time and weather impact, avoiding sun, rain, or humidity spikes that slow curing and compromise finish.
Can I Stain Over Painted or Sealed Surfaces?
Yes, you can stain over painted or sealed surfaces, but you must prep first. Have you considered paint removal and thorough surface cleaning to guarantee adhesion and longevity? This approach boosts SEO, is audience-led, and actionable for you.
Is There a Safe, Low-Voc Alternative Option?
Yes. You can choose eco friendly options and VOC free stains, then apply with proper prep. Look for low-VOC labels, test on a small area, and follow manufacturer directions for safe, durable results you can trust.
Conclusion
When you stain your deck, you protect wood, boost curb appeal, and extend its life—simple steps, big payoff. Follow prep, choose the right stain, and apply evenly for lasting color and protection. Don’t skip maintenance; recoat when the color fades or water no longer beads. Remember: consistency beats intensity. Like planting a seed, your care yields durable results. Start today, and your deck will reward you with years of beauty and fewer costly repairs.