Disclosure: This post contains affiliate links. As an Amazon Associate, we earn from qualifying purchases.
Identify your stain type first—oil-based needs mineral spirits and dedicated solvents, while water-based responds to soap and water. Rinse brushes immediately after staining, then do a quick scrub to lift loose pigment. Use separate brushes for each solvent, and follow label directions for dilution and contact time. Spin and air-dry bristles away from heat, store upright in a ventilated space, and label containers. If you keep going, you’ll uncover more pro tips and fixes.
Identify Your Stain Type: Oil vs. Water-Based
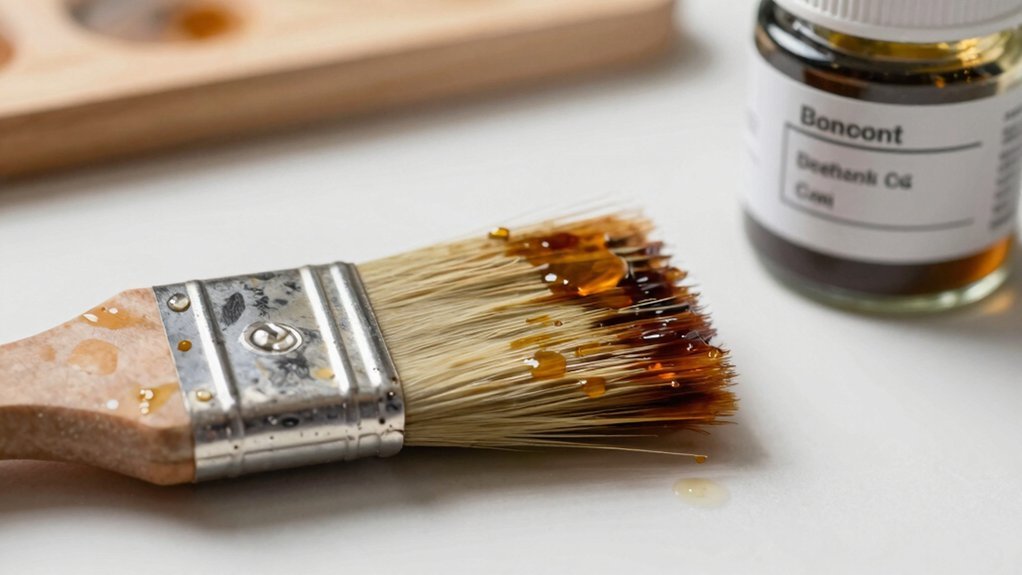
Identifying your stain type is essential because oil- and water-based stains clean up with different solvents and techniques. You’ll determine the correct approach by inspecting the deck and label, then note whether brush maintenance and cleanup hinge on solvent choice.
Oil-based stains demand mineral spirits or a dedicated solvent, which preserves brush fibers and prevents glazing, while water-based stains respond to soap and water, saving time on rinsing.
If you’re unsure, test a small area to observe initial penetration and removal ease, then proceed with the appropriate method. Accurate identification speeds stain removal and minimizes fiber damage.
Avoid cross-contamination by using color-coded containers. Once you’ve confirmed the type, you can tailor your cleanup plan and maintain brush performance for future projects.
Rinse and Initial Clean: Quick Steps
Rinse the brushes with clean water or solvent as soon as you finish staining, then give them a quick initial scrub to remove loose pigment. You’ll remove clinging material before it dries, which simplifies the next steps. Use plain water for water-based stains or the appropriate solvent for oil-based products, if needed.
Inspect bristles for deformation or splaying, and reshape them gently after a brief rinse. Keep cleaning supplies limited to essentials—bucket, brushes, and the solvent or water. Avoid soaking handles or metal ferrules too long to prevent damage.
Remove excess liquid by squeezing from the ferrule toward the tip, not the other way around. Dry brushes upright in a ventilated area. This quick rinse minimizes hard-to-remove residue and supports consistent brush maintenance.
Remove Stain Safely: Solvents and Tools
Solvent choice matters: pick a remover that’s appropriate for the stain and your deck type, then keep tools ready before you start.
You should select a safer, biodegradable option when possible, and always follow label instructions for dilution and contact time.
Identify the stain category—oil-, water-, or specialty-based—and match the solvent accordingly to minimize risk to the wood and your health.
Use dedicated brushes for each solvent to prevent cross-contamination and simplify cleanup.
Keep respirator, gloves, and eye protection within reach, and work in a ventilated area away from flames.
After application, promptly rinse solvents from brushes and store them upright in a well-ventilated space.
Emphasize brush maintenance and solvent safety to preserve bristle integrity and user safety.
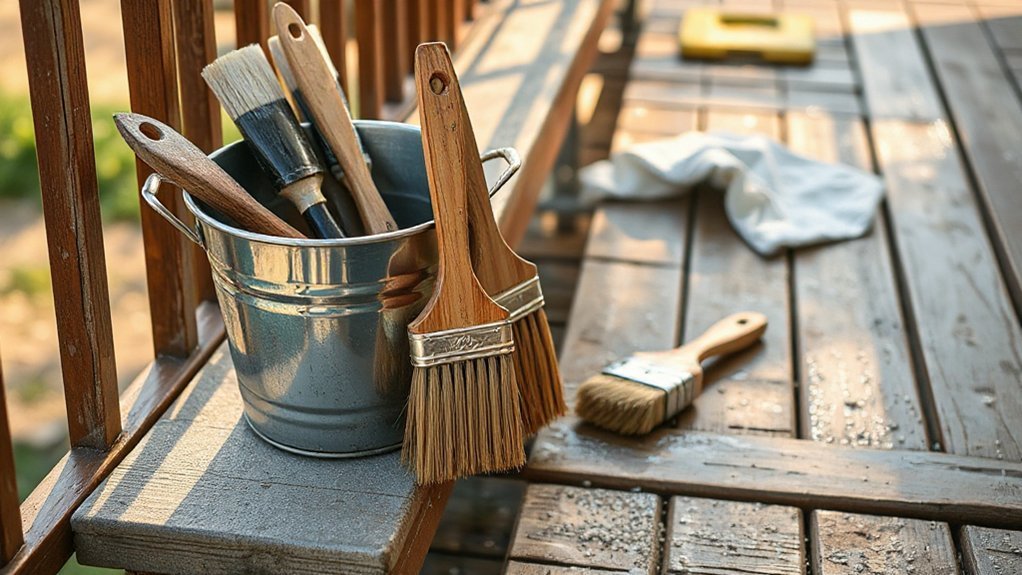
Drying, Storage, and Clog Prevention

After you’ve cleaned the brushes, the next steps focus on drying, storing, and preventing clogs. Proper drying is essential: spin out excess water, then air-dry bristles away from direct heat, with the ferrule supported to avoid distortion. Avoid squeeze-drying; that can trap moisture and promote mildew.
Once dry, store brushes upright or laid flat in a ventilated area, never sealed in plastic. Proper brush storage minimizes hardening at the bristle base and preserves stiffness for future use.
For clog prevention, inspect bristles for debris and rinse again if needed, then wrap handles for grip while stored. Label containers with stain type and date, and keep brushes off the floor.
Troubleshooting Common Brush-Cleaning Problems
When brush cleaning doesn’t go as planned, identify the issue quickly and apply a targeted fix. Start by inspecting the bristles; if they are stiff, try loosening debris with detergent and warm water, not hot, to protect the brush’s fibers.
If paint remains sticky, soak the brush briefly in mineral spirits, then scrub with a stiff nylon brush. For bristles that fray, switch to a compatible cleaner and avoid aggressive scrubbing—damage compounds later.
Clogged roller ferrules or metal handles? Rinse thoroughly, then dry upright to prevent rust. If odor lingers, air out the brush in a ventilated space and repeat rinse cycles.
Poor stain removal? Revisit surface prep, ensure you’re using fresh cleaner, and adjust dwell time.
Consistent brush maintenance ensures smoother reuse; focus on stain removal efficiency and material longevity.
Frequently Asked Questions
Can I Reuse Dirty Water to Rinse Multiple Brushes?
No, you shouldn’t reuse dirty water for rinsing multiple brushes. It risks cross-contamination and uneven cleaning. Use fresh water or properly disposed rinse. Focus on brush cleaning techniques, and consider filtering water for limited reuse where safe.
How Do I Prevent Odor After Cleaning Brushes?
Someone once warned, “purity preserves power.” To prevent odor after cleaning brushes, you do odor control with thorough rinses, dry promptly, and use brush deodorization products or baking soda, ensuring your tools stay fresh and ready.
Are Wire Brushes Better Than Nylon for Cleaning Bristles?
Wire brushes are harsher and can fray bristles faster, so nylon brushes preserve cleaning bristles longer; for delicate decks, choose nylon brush type to avoid damage, while wire brushes excel for stubborn grime on tough surfaces.
How Long Should Brushes Soak for Optimal Cleaning?
Brushing the theory aside, soak brushes for 10–15 minutes for ideal cleaning. You’ll maximize stain removal with hot, soapy water, then rinse. Don’t overdo it; prolonged soaking can damage bristles, reducing performance and lifespan.
Can I Dry Brushes With Heat to Speed up Drying?
You should not dry brushes with heat to speed up drying. Instead, use air-drying or a towel, and avoid heat application. Opt for proper drying methods and ventilation, ensuring brushes retain stiffness and bristles don’t warp.
Conclusion
You’ve learned how to clean deck stain brushes properly, so your tools stay sharp and ready. By identifying the stain type, rinsing thoroughly, using safe solvents, and drying and storing correctly, you prevent odors, caking, and clogs. When problems pop up, adjust your approach with quick troubleshooting. Remember: consistently clean brushes extend their life and your results. It’s a simple ritual that pays dividends—like a well-tuned instrument, your deck project plays on, flawlessly. Now, brush, rinse, repeat.