Disclosure: This post contains affiliate links. As an Amazon Associate, we earn from qualifying purchases.
Yes. Your deck should have a deliberate fall to drain water away from the house toward gutters or low spots, not pool around the structure. Aim about 1/8 inch per foot (1%) overall, with a consistent fall away from the house to prevent rot and slipping hazards. Use precise framing, flashing, and proper drainage gaps to maintain the slope. Keep edges sealed and inspect regularly; if you want more specifics, you’ll find practical guidance ahead.
The Core Reason for a Deck Slope: How Fall Drains Water
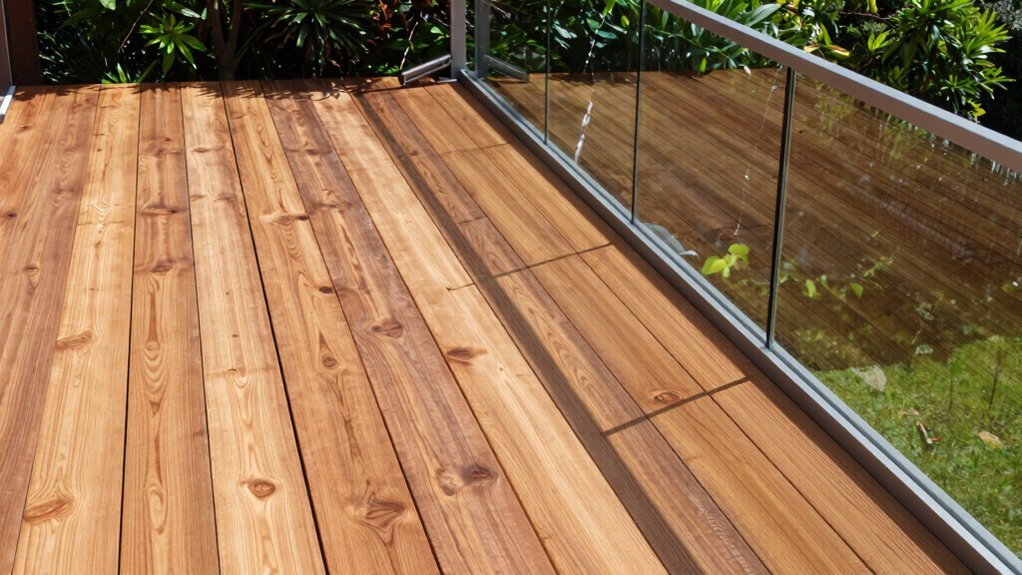
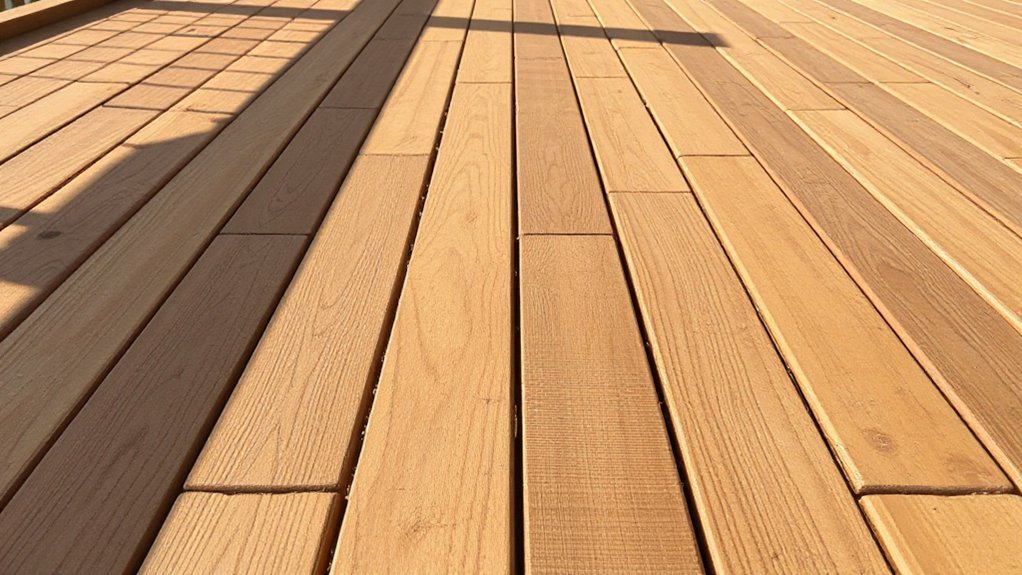
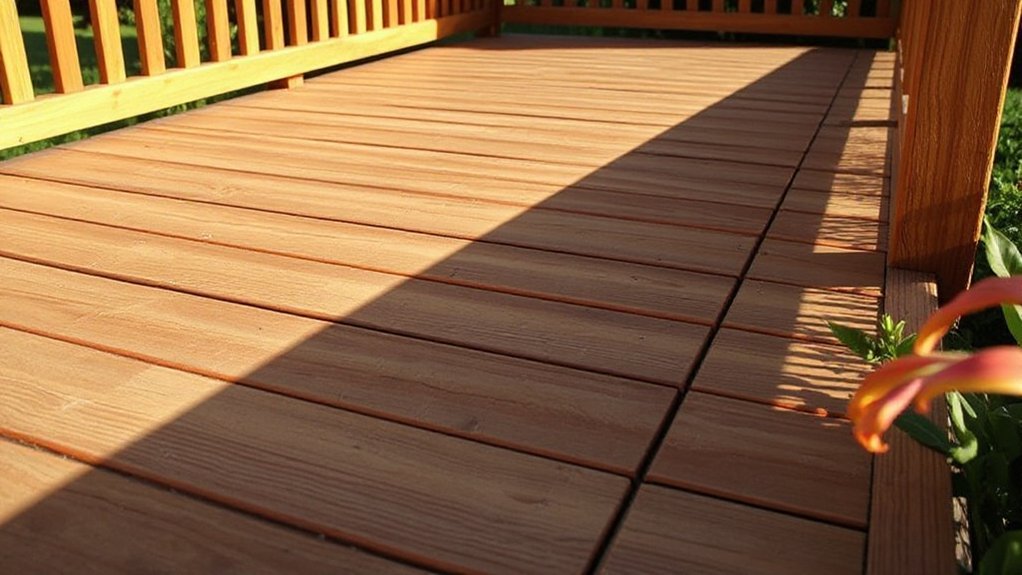
A deck should slope away from the house because water needs to drain quickly to prevent damage. The core reason for a deck slope is drainage efficiency, not aesthetics. When you create a fall, you guide rainwater toward gutters or low spots, reducing pooling and timber decay.
You’ll protect deck surface integrity by minimizing standing water that invites rot, warping, and algae growth. This isn’t about extreme angles; it’s about a deliberate incline that works with your site grade. In practice, plan slope direction first, then choose components that honor that flow.
Consider material selection that tolerates moisture and temperature shifts, and maintain proper gaps for drainage. Keep your choices practical, focusing on durability, safety, and simple maintenance.
How Much Slope Is Actually Needed for Deck Drainage
To drain efficiently, aim for a slope of about 1/8 inch per foot (1% grade) as a practical baseline. You don’t need a dramatic incline to prevent pooling; a subtle grade guides water toward gutters or drainage points without creating a visible tilt.
Real-world decks benefit from consistent, uniform runoff across surfaces, avoiding low spots that trap moisture. When planning, consider how slope interacts with traffic patterns and deck aesthetics—shallow grades can still look level while performing well.
Material selection matters too: choose solid, rot-resistant beams and tightly joined boards that maintain slope integrity over time. Keep drainage clear of obstructions, align beams to the direction of runoff, and ensure fasteners don’t pinch boards.
A thoughtful slope supports durability, usability, and pleasing appearance.
The Science of Moisture, Rot, and Deck Longevity
Moisture control is the foundation of deck longevity, so start by sealing gaps, directing water away, and choosing rot-resistant materials.
I’ll share practical insights on how moisture moves through wood and fasteners, and what that means for rot prevention.
With clear, actionable steps, you’ll reduce decay risk and keep your deck solid for years.
Moisture Control Principles
Water is the enemy of decks when it lingers; understanding how moisture moves and where it collects helps you prevent rot and extend longevity. Moisture control starts with proper surface drainage and slope so water exits quickly, not pool on the deck.
Use continuous ventilation beneath boards and ensure gaps stay consistent to prevent capillary wicking. Material selection matters: choose decking that handles moisture, and maintain coatings that limit absorption without trapping vapor.
Inspect flashing at penetrations and keep soil and mulch away from joists to reduce sustained moisture exposure. Seal ends and field-cut edges to reduce water ingress.
Consider decking aesthetics when planning drainage and fastener systems, so looks align with performance. Balance aesthetics with functional moisture management for lasting support.
Rot Prevention Insights
Rot isn’t random—it’s the predictable result of prolonged moisture exposure and hidden drainage failures. You can prevent rot by prioritizing drainage and keeping surfaces dry. Inspect and clean gutter outlets, choose framing with proper slope, and ensure flashing seals shed water away from the deck.
Regularly remove leaf debris and organic buildup that trap moisture and shelter decay fungi. When you treat wood, use proven wood preservatives, applying per label directions to create a moisture-resistant barrier without trapping water behind boards.
Install well-ventilated gaps between boards to encourage drying after rain. Favor preservative-treated lumber or rot-resistant species in high-moisture areas. Maintain deep seals at post bases and rail joints, and recoat as needed to sustain protection.
Consistent maintenance outperforms reactive repairs.
Slope Choices by Deck Use: Seating, Stairs, and Steps
When you choose slope, match it to how you’ll use the deck: seating areas require a gentler grade for comfort. Stairs demand a steeper rise with secure, consistent steps, and exterior steps should avoid sharp drops or trip hazards.
For seating zones, keep the slope subtle to minimize foot fatigue and preserve sightlines. A gentler grade also enhances deck lighting effectiveness, reducing glare and shadows.
Stairs need a reliable rise and run, with uniform tread depth and non-slip surfaces to support safe transitions. Steps should trend toward a modest fall to prevent crowding or water pooling.
Consider aesthetic appeal when grading: a balanced profile integrates with surrounding landscape and materials. Practical slope choices also sustain long-term usability and rhythm between zones.
Common Slope Mistakes and How to Prevent Them
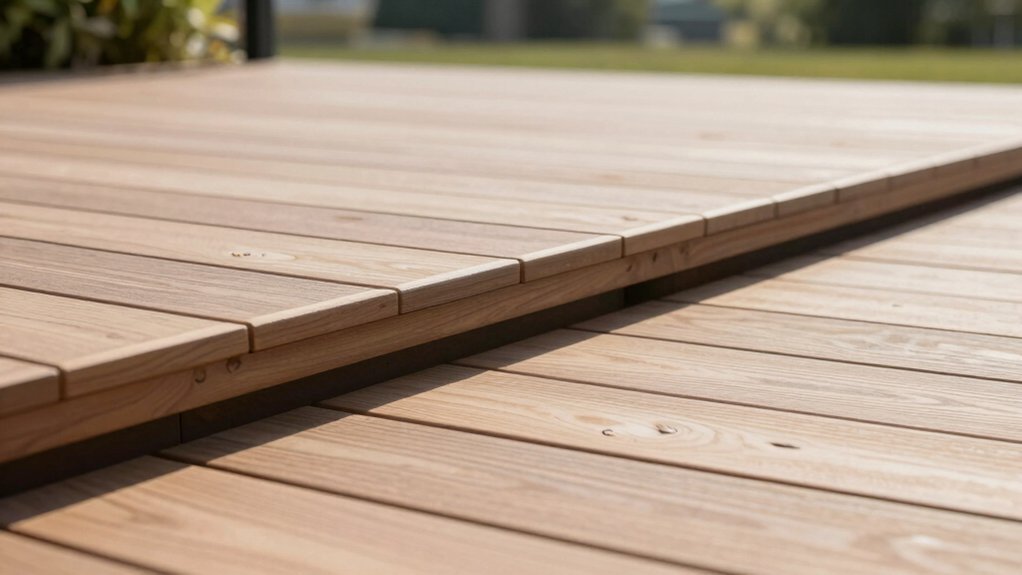
You’ll avoid slope misjudgments by confirming a consistent fall every time you plan or adjust a deck. Address drainage impact fixes early, ensuring edges shed water toward proper outlets and never pool on boards.
Keep uniform rise standards in mind so stair and railing progression stay safe and predictable.
Slope Misjudgment Errors
Slope misjudgment is a common pitfall on slopes, and recognizing it early helps prevent trips, slips, and costly mistakes. You’ll often overestimate grip or underplay uneven terrain, so check every route you’ll use. Start with a quick, honest assessment of the surface—look for slick spots, loose boards, and glow from wet conditions. Don’t rush measurements; small errors compound into big risks.
Use a simple plan: identify high-risk zones, map traction, and mark zones that need stabilization before work begins. Maintain consistent footwear and adjust your pace to the surface, not the date on the calendar. Think about drainage systems and slope visualization when planning moves; visualize water flow and load paths to avoid hidden hazards.
Correct misjudgments now to prevent later hazards and costly fixes.
Drainage Impact Fixes
Drainage fixes battle a common slope mistake set by water flow. You’ll prevent pooling by ensuring a continuous downward grade away from the house, with a minimum slope of about 1/4 inch per foot.
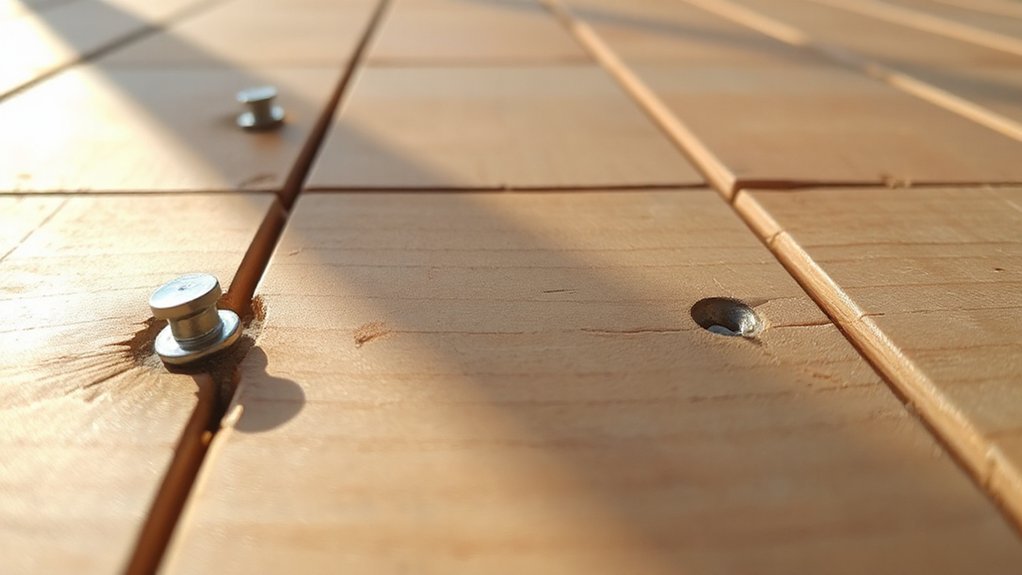
Check that joist tails and deck boards aren’t catching runoff; tiny ridges can redirect water to the surface improperly. Use proper flashing and edge detailing to keep moisture off framing and prevent standing water that wears veneer and wood grain over time.
When choosing deck color, pick a finish that doesn’t hide early moisture signs, making maintenance easier. Install proper gaps between boards to promote air and water flow, then seal or stain with a breathable coating.
Regularly inspect seams, fasteners, and drainage channels to maintain predictable runoff and avoid slippery, damp scenes.
Uniform Rise Standards
Uniform rise standards guarantee deck foundations drain consistently from the house. You’ll prevent pooling and uneven settling by aligning rise with slope, not guessing. Start with a fixed reference line from the house edge, then measure every joist pocket to keep deck height consistent.
Don’t assume a uniform run will cover inconsistencies in soil or framing; verify on site and adjust. Common slope mistakes include over- or under- pitching at corners, and ignoring progressions to entries.
To fix, set a precise grade target and maintain it through string lines and level checks. Your material selection matters: choose rot-resistant framing and compatible fasteners that tolerate slight seasonal shifts.
Plan around deck height limits and drainage paths, and recheck after installation.
Measuring Slope During Design and Permitting
To measure slope during design and permitting, start by establishing your reference point and confirming the site grade with a level line across key locations.
You’ll compare finished deck height targets to existing grade, noting any deviations that affect drainage and accessibility.
Use a simple incline calculation: rise over run, expressed as a percentage or ratio, to guide footing and beam placements.
Document elevations at corners, midpoints, and access points for permit reviews and code checks.
Consider decking aesthetics when selecting elevation transitions to avoid abrupt changes that look awkward or feel unstable.
Verify compliance with building codes and setback requirements early, updating plans as needed.
Share this data with the permit reviewer to streamline approvals and prevent costly redesigns later.
Framing Techniques for a Reliable Deck Slope
Framing the deck to maintain a reliable slope starts with precise layout and solid connections. You’ll establish elevation points, align joists level, and ensure consistent cant for drainage. Use crisp fastener patterns and ledger-to-joist connections that resist movement under load and weather.
When you assign joist spacing, keep it uniform, then verify plumb across posts and beams. Sloped framing relies on accurate cut angles and well-timed shims to prevent sagging or wane in the deck surface.
Check every deck frame corner with a level, adjusting as needed before sheathing. In planning, consider deck aesthetics and material selection together so choices support a steady slope without compromising strength.
Choose treated lumber or rot-resistant options and compatible fasteners to sustain the intended fall.
Edge, Flashing, and Drainage Gap Details
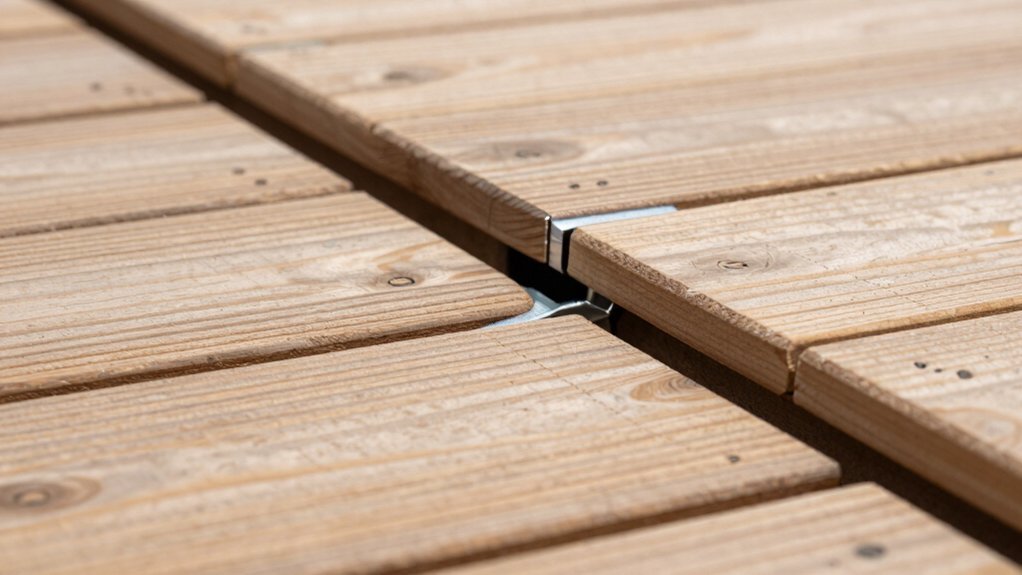
Edge flashing protects joints where the deck meets the house or railing posts, and drainage gaps keep water from pooling against the structure. You should verify flashing continuity at edges and transitions, since gaps invite leaks and rot.
Install a continuous flashing course under the finished deck layer, extending up behind siding or trim, then seal with compatible caulk where necessary. Position drainage gaps so water sheds away from the sill plate and ledger, not toward interior framing.
When choosing materials, consider deck aesthetic and climate; select corrosion-resistant flashing and fasteners that tolerate moisture. For surface clarity, keep gaps uniform to avoid debris buildup and ensure drip lines don’t create staining.
Material selection should balance durability, ease of maintenance, and compatibility with adjoining surfaces for a clean, lasting look.
Maintenance for Long-Term Sloped-Deck Performance
Sloped decks demand proactive upkeep to prevent water intrusion and premature wear. To maintain long-term performance, schedule seasonal inspections, focusing on fasteners, joists, and flashing. Tighten loose screws and replace corroded hardware before squeaks become leaks.
Keep drainage clear from debris to preserve slope integrity and prevent standing water. Clean surfaces with a mild, planet-friendly cleaner, then reseal or re-stain as needed to preserve decking aesthetics.
Choose material choices that resist warping, splitting, and rot for your climate, and verify warranty requirements before renovations. Apply appropriate sealants to end caps and edge trims to deter moisture intrusion.
Track fading or graying and recoat promptly to maintain uniform appearance. Document maintenance, so future owners understand care needs and preserve value.
Frequently Asked Questions
How Much Slope Is Needed for ADA Compliance on Decks?
You should slope decks at least 1:48 for ADA compliance, with a maximum rise of 1/2 inch per foot for thresholds. When planning, consider decking aesthetics and material selection to guarantee smooth, safe transitions.
Can Slope Impact Deck Railing Stability or Anchors?
Yes. You’ll see slope can affect deck stability and railing safety. Think of a downhill skateboarder: grip and balance matter. You must inspect anchors, guarantee proper fasteners, and maintain slope for reliable deck stability and railing safety.
Do I Need a Vapor Barrier Under a Sloped Deck?
Yes, you should install a vapor barrier under a sloped deck to manage moisture. Choose a durable, breathable membrane, inspect for leaks, and guarantee proper drainage. For deck surface and material selection, favor pressure-treated or composite options.
How Do Drainage Gaps Affect Deck Fascia and Flashing?
Drainage gaps dramatically influence how drainage works; they guide water away from deck fascia and flashing. Guarantee proper slope drainage, keep gaps clear, and install flashing above fascia so moisture stays out and your deck lasts longer.
Should Slope Be Uniform Across Multiple Levels or Stairs?
Uniform slope isn’t required; you can have deck slope variations across levels for functional drainage and visual interest. In multi level deck design, keep progressions smooth and consistent enough to prevent puddling and trip hazards.
Conclusion
Your deck isn’t just a platform—it’s a water funnel. If you skip the slope, you’ll invite rot, warped boards, and endless maintenance battles. Do give it a modest lean so rain slides off faster than a greased sidewalk. Measure early, frame true, and use proper flashing. Don’t ignore drainage gaps or edge details—they’re the difference between serenely dry summers and soggy, swampy messes. Build smart, slope right, and your deck will outlive your next DIY obsession.