Disclosure: This post contains affiliate links. As an Amazon Associate, we earn from qualifying purchases.
Staggering decking boards is beneficial for strength, drainage, and a balanced look. You should stagger if you want to minimize long seam alignment, reduce visible gaps, and distribute loads more evenly. Plan spacing consistently (about 1/8 to 1/4 inch) and offset joints to avoid straight runs. Use uniform fasteners and trim ends for flush surfaces. Document pattern choices and waste forecasts to stay organized. If you want more detail, you’ll find practical steps and tips after this.
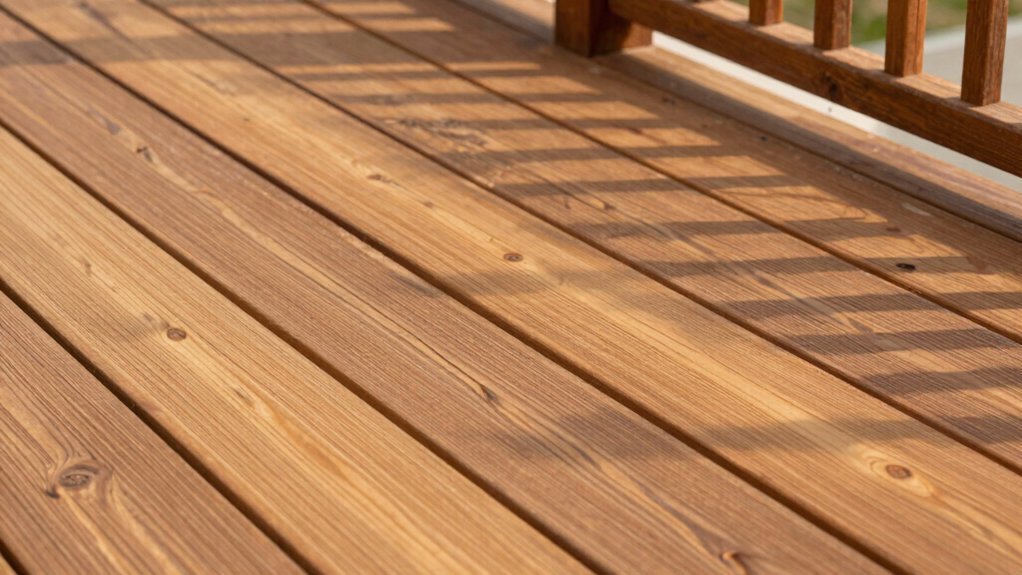
What Is Staggered Decking? Definition and Benefits
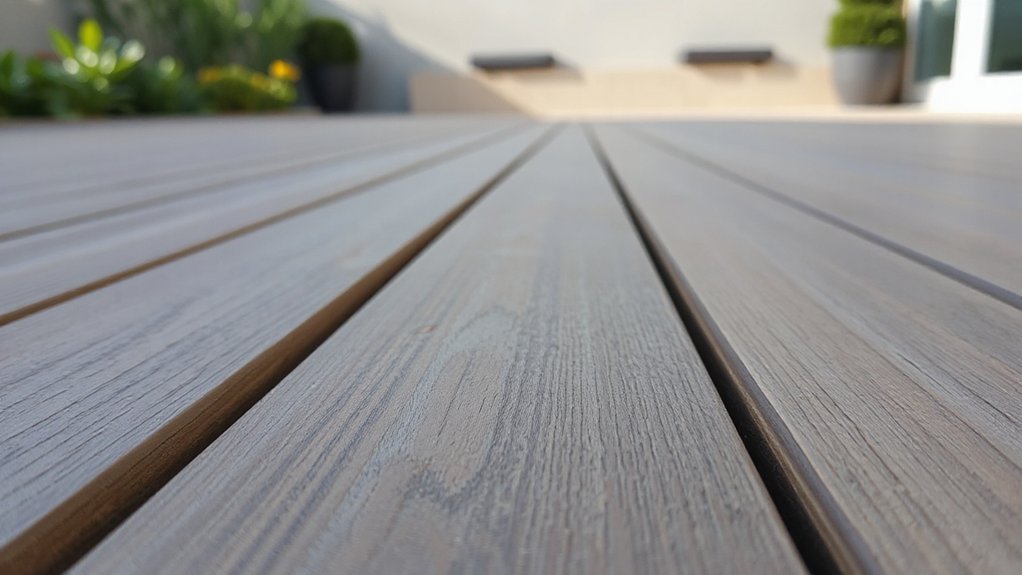
What’s staggered decking, and why does it matter? Staggered decking refers to placing boards so their end joints don’t align in a straight line across the surface. You alternate board placement in each run, creating offset seams. This technique reduces visible gaps and distributes load more evenly, improving overall stability.
Patterns emerge from varying joint offsets, influencing how light and shade play across the deck at different times of day. Aesthetics matter because staggered layouts break up long, uninterrupted runs, contributing a deliberate, measured look that complements contemporary materials.
Practically, staggering minimizes waste by allowing more efficient cuts and supports better drainage by interrupting continuous seam alignment. In sum, it combines structural benefits with a controlled, refined visual appeal.
Should You Stagger? Decision Criteria and When It Helps
You should stagger when placement criteria align with achieving uniform joint spacing and predictable shifts between boards. It helps build regularity by aligning board starts and ends to a consistent pattern, reducing visible irregularities and misalignment.
Use this approach when the goal is a tight, orderly appearance across the deck surface.
Placement Criteria
Placement criteria for staggering decking boards hinge on function, aesthetics, and installation constraints. You determine spacing rules from load paths, fastener placement, and board width, then translate them into a practical plan.
For function, make certain joints align with joists, avoid obstructions, and maintain drainage.
Aesthetics drive acceptable stagger offsets, repeat cycles, and potential decorative patterns; consistency matters for a professional look while accommodating grain variation.
Installation constraints include board exposure, edging, and climate-driven expansion gaps; you’ll specify allowable gaps and end-to-end limits before cutting.
When evaluating options, you balance time, waste, and future maintenance.
Document your chosen offset sequence, identify critical joints, and verify compatibility with hidden fasteners or tongue-and-groove systems.
This approach preserves structural integrity without sacrificing visual cadence.
When It Helps Build Regularity
Staggering helps create visual rhythm and can reduce line sightings of boards. When the goal is a steady, uniform look, applying a regular stagger pattern often improves perceived quality and minimizes alignment distractions.
In this case, you assess consistency across lengths and edge treatments to support regularity rather than deliberate randomness. Use a fixed offset that repeats every 3–5 boards, depending on board width and substrate tolerance, so joints don’t align in long spans.
This approach supports garden aesthetics by delivering predictable seams and straight edges, aiding installers and inspectants. Consider the impact on outdoor furniture sightlines and overall landscape coherence; regularity makes space feel intentional.
If gaps stay uniform, the result appears tighter and easier to maintain.
Plan Your Staggered Layout: Spacing, Joints, and Waste
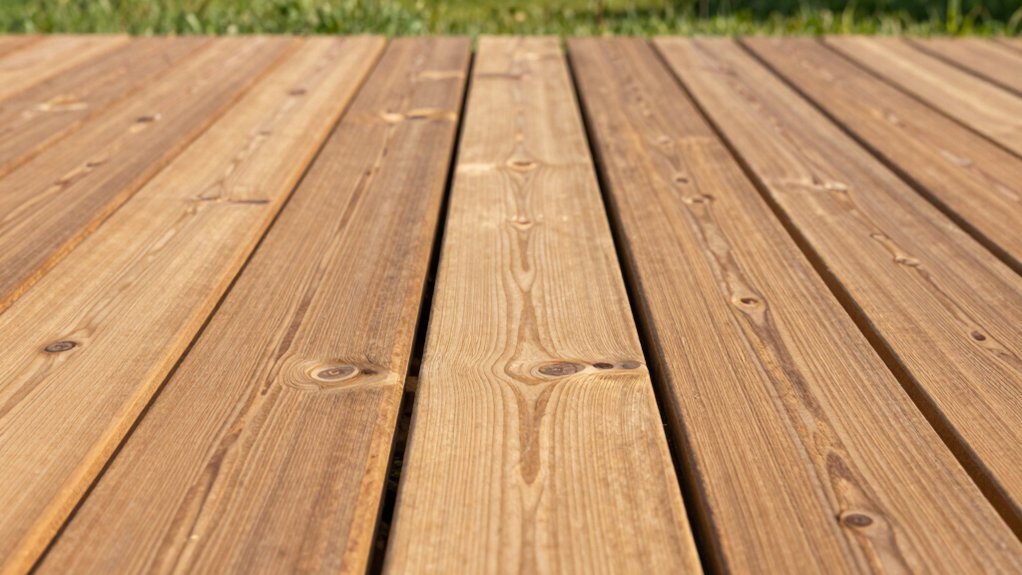
To plan a practical staggered layout, start by deciding consistent spacing between boards, typically 1/8 to 1/4 inch to allow for expansion and drainage. You’ll set a baseline spacing that governs waste calculations and joint behavior.
In spacing planning, maintain uniform gaps across the deck to avoid misalignment and trip hazards. Align joints so each board’s end lands on or near a plausible support line, minimizing cut waste while preserving stagger continuity.
Mark starter boards and reference lines for repeatable patterning, then verify during installation that clamps and spacers keep gaps constant.
Consider waste implications early: estimate scrap, account for offcuts, and plan alternative sequences to reduce waste without sacrificing aesthetics.
Maintain documentation of spacing, joint alignment, and waste forecasts for consistency and future maintenance.
Board Widths, Species, and Fasteners for Staggered Decks
Choosing the right board width influences both staggered patterning and finish quality, so start with consistent widths to minimize gaps and waste.
Consider species for stability, rot resistance, and fastening compatibility, then pair with fasteners rated for exterior use to guarantee long-term performance.
We’ll discuss how width, species traits, and fastener types shape joint visibility, board alignment, and maintenance needs in staggered decks.
Board Width Considerations
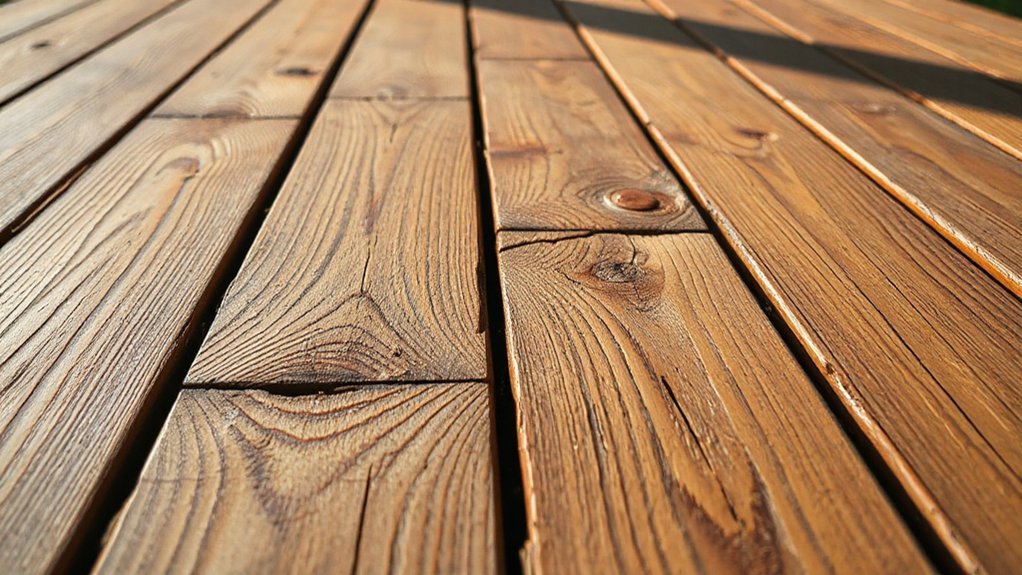
Board widths influence both the look and the performance of staggered decks. You should select widths that balance aesthetic appeal with installation practicality. Uniform widths create clean joints, ease board rotation, and simplify spacing calculations.
Mixed widths can add visual interest if planned deliberately. Consider the span, joist spacing, and fastening pattern you intend to use; wider boards may require closer joist support and more robust fasteners to prevent sagging.
Grain alignment matters: align boards so grain runs consistently along the deck’s length to reduce warping potential and improve water shedding.
Color variation across boards will influence perceived uniformity, so anticipate how finishes and exposures interact.
Note that actual fastener type and substrate compatibility belong in the next section.
Species and Fasteners Choices
When selecting widths, species, and fasteners for a staggered deck, you’ll want a cohesive system that supports consistent joint lines, reliable fastening, and durable performance across exposure conditions.
For species selection, choose durable, dimensionally stable hardwoods or treated softwoods with low shrinkage and good decay resistance. Favor boards with straight grain, minimal knots, and uniform density to reduce movement and ensure even stagger.
For fastener types, use corrosion-resistant screws or ring-headed fasteners designed for decking. Match fastener length to board thickness to secure each board without telegraphing through the face. Consider invisible or edge-fastening options that minimize surface irregularities while maintaining joint integrity.
Verify compatibility with your substructure, stain or seal requirements, and anticipated humidity cycles.
Step-By-Step Guide to Staggered Deck Boards
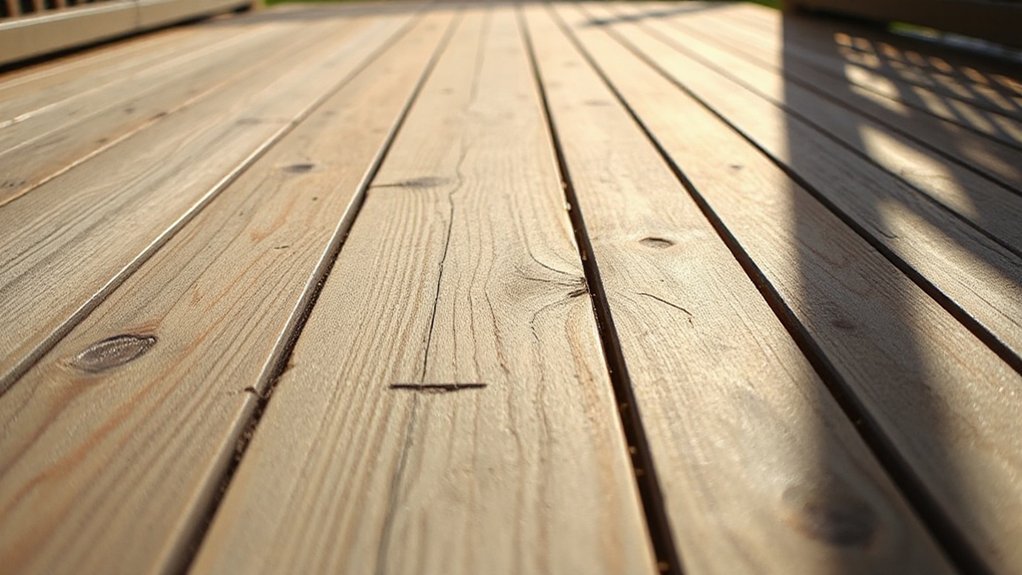
Staggering deck boards starts with a clear plan: decide on the spacing pattern, then lay out the boards so gaps align consistently across the deck. You’ll measure joist spacing, mark reference lines, and chalk-draw starting edges to ensure uniform stagger.
Begin with a pilot board at one end, install subsequent boards by maintaining the chosen offset, and verify gaps with a spacer block. Secure each board with corrosion-resistant fasteners at consistent intervals, avoiding alignment shifts as you proceed.
Check for square corners and adjust if needed before final fastener installation. Maintain decking aesthetics by keeping offsets steady across rows, and monitor material durability by minimizing gap variations that trap moisture.
Once complete, trim end boards to exact length and perform a final inspection for alignment and fastener security.
Troubleshooting and FAQs for Staggered Decks
Dealing with issues and questions as you implement staggered decks is common, and having a plan helps you keep gaps, alignment, and fasteners consistent. When troubleshooting, verify board spacing with a spacer tool and recheck joist alignment to prevent cumulative drift.
Common problems include misaligned seams, uneven gaps, and nail or screw heads that stand proud; address these by adjusting boards before fastening and using uniform fasteners.
For color consistency, staggered layouts can reveal shade variation; account for deck color changes over time and store boards to minimize exposure differences during installation.
Maintenance tips: clean regularly, seal or stain per manufacturer guidance, and inspect for warping or rot after seasonal shifts.
Document changes and questions to streamline future repairs.
Frequently Asked Questions
How Does Weather Affect Staggered Deck Shrinkage and Movement?
Weather drives shrinkage and movement in staggered decking via thermal expansion and moisture absorption; you’ll see boards swell with humidity and contract with heat, stressing joints. Plan gaps and fastening accordingly to accommodate directional expansion and contraction.
Can I Stagger Boards on Existing Concrete or Hardscape?
Yes, you can stagger boards on a concrete surface, but make certain hardscape compatibility and proper substrate prep. Use a sleeper system or shims to accommodate movement; maintain drainage, moisture control, and a symmetric pattern for long-term stability.
Are There Aesthetic Rules for Stagger Patterns With Grain Direction?
Yes, there are aesthetic rules: keep grain alignment consistent with the main run, avoiding cross-grain joins that disrupt visual harmony. Plan stagger patterns to emphasize linearity, ensuring balanced edges and predictable grain direction across the deck.
What Maintenance Differs for Staggered vs. Straight Boards?
Staggered boards demand slightly more attention, but maintenance mostly aligns with straight boards. You’ll clean, seal, and inspect for warping similarly; emphasize wood treatment and pest prevention, ensuring gaps remain consistent and fasteners stay secure for long-term durability.
How Do I Fix Misaligned Boards After Installation?
You fix misaligned boards by rechecking board alignment, loosening fasteners, and nudging the rows until level. Then reseat screws or hidden fasteners, reseal edges, and recheck gaps. This precise process guarantees proper board alignment and fixing misaligned decking.
Conclusion
Staggered decking can improve appearance and airflow while reducing visible seams, but it adds planning and waste considerations. If your boards vary in width or you’re working with longer runs, staggered layouts reduce end-grain exposure and help hide starter gaps. Use precise measurements, consistent spacing, and tested fasteners. If you’re unsure, model a small section first and check for expansion gaps. Think of staggered boards like puzzle pieces that fit cleanly when cut to size. They keep winters and winds from revealing unfinished ends.